This adventure definitely feels like it won’t be pulling any punches, so every time a new step is added I will be editing the post.
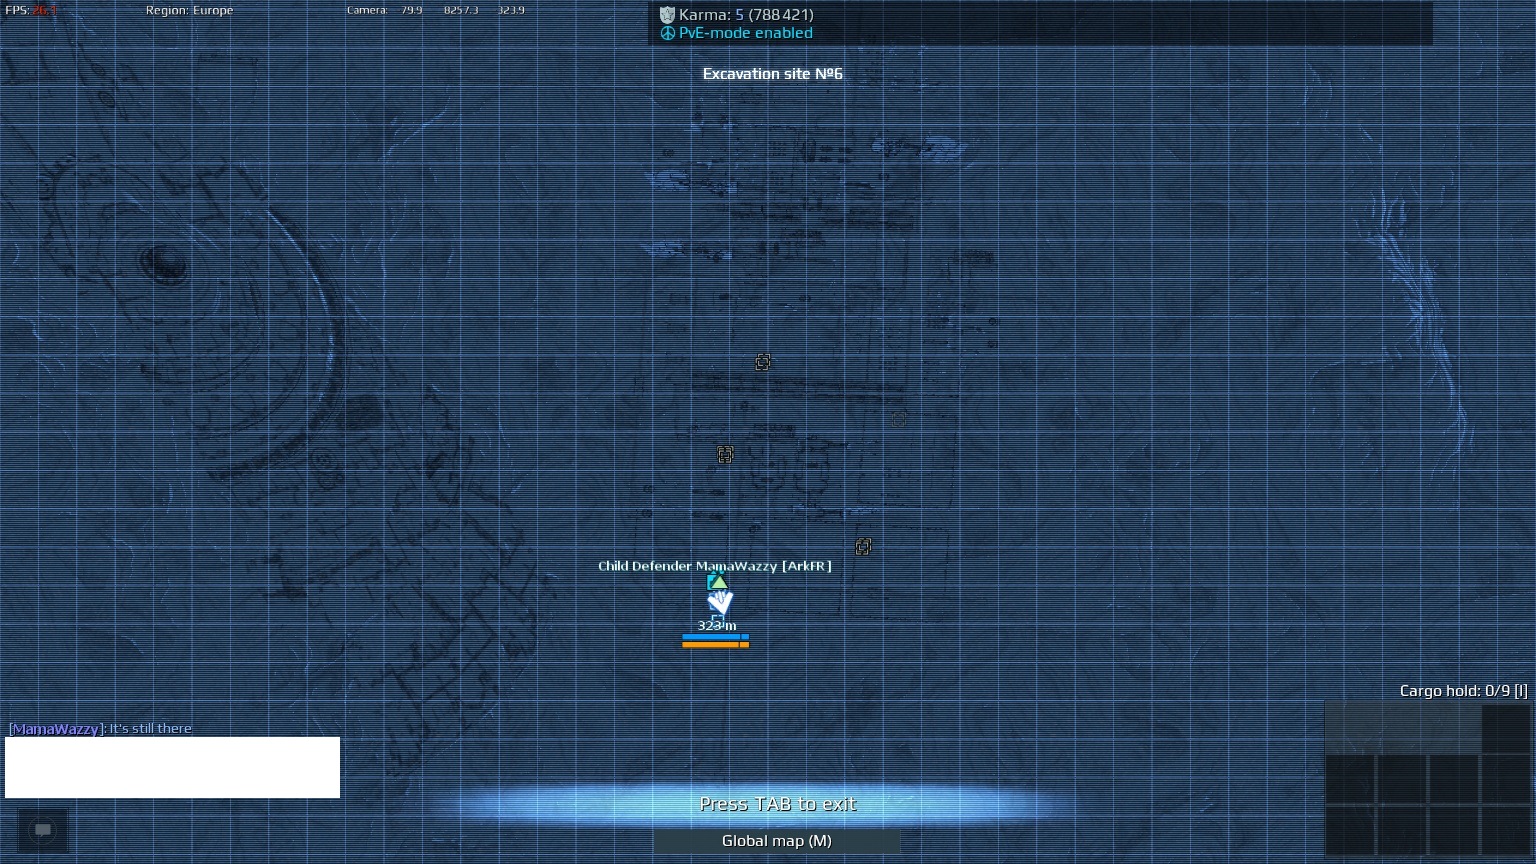
Your main hint here is that the thief was unable to leave the sector after stealing from Comrade Dimeni… so he’s still in Ellydium Theta.
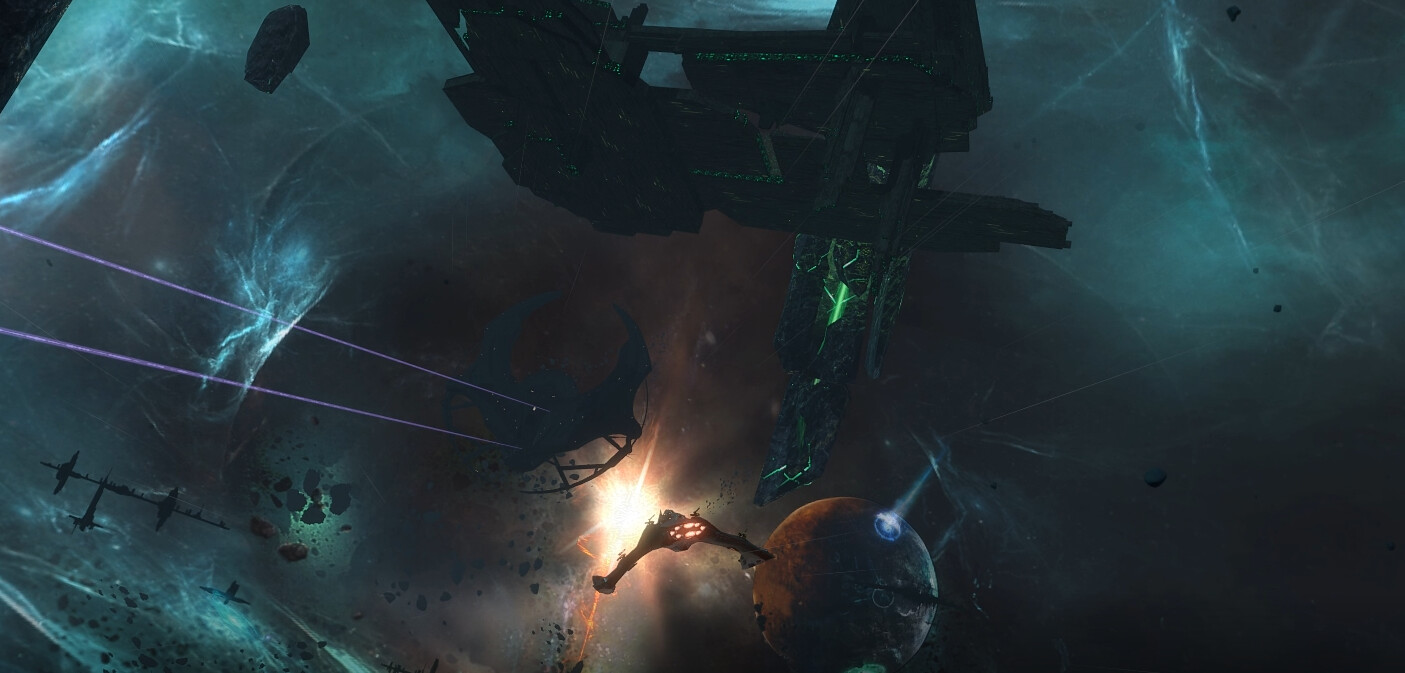
Go to the pillar at the far end of the sector - the stolen item is at the top of the pillar.

Keep in mind that Seed Chips are currently disabled. So if a step requires large amounts of combat you may want to properly prepare instead of the good 'ol permacloak Tai’kin.
It certainly exists and most of us definitely don’t want to hurt the little spaceman for it.
As predicted he is in the Excavation Site No.6 Sector and as per the last step they are only visible when you are within ~50m of the target.
The target apparently has multiple spawn points so I’ll be using screenshots from several users on the Star Conflict Discord along with just my own.
Where I found the target:


Other spawn locations:
Spoiler


Source: Krapuma on the official discord

Source: sid422 on the official discord

Source: TheDarkRedFox

Source: SilverCloud

Source: cobraarrow
Significantly less frustrating than Step 2 - once your timer is up and you can continue the quest you will be heading to the Poseidon Complex Sector.
I would suggest bringing an interceptor or an Ellydium Fighter with enough speed, as you will be required to stay within 500m of the for courier 3-5 seconds.
The courier is visible permanently, so nothing much to explain really.
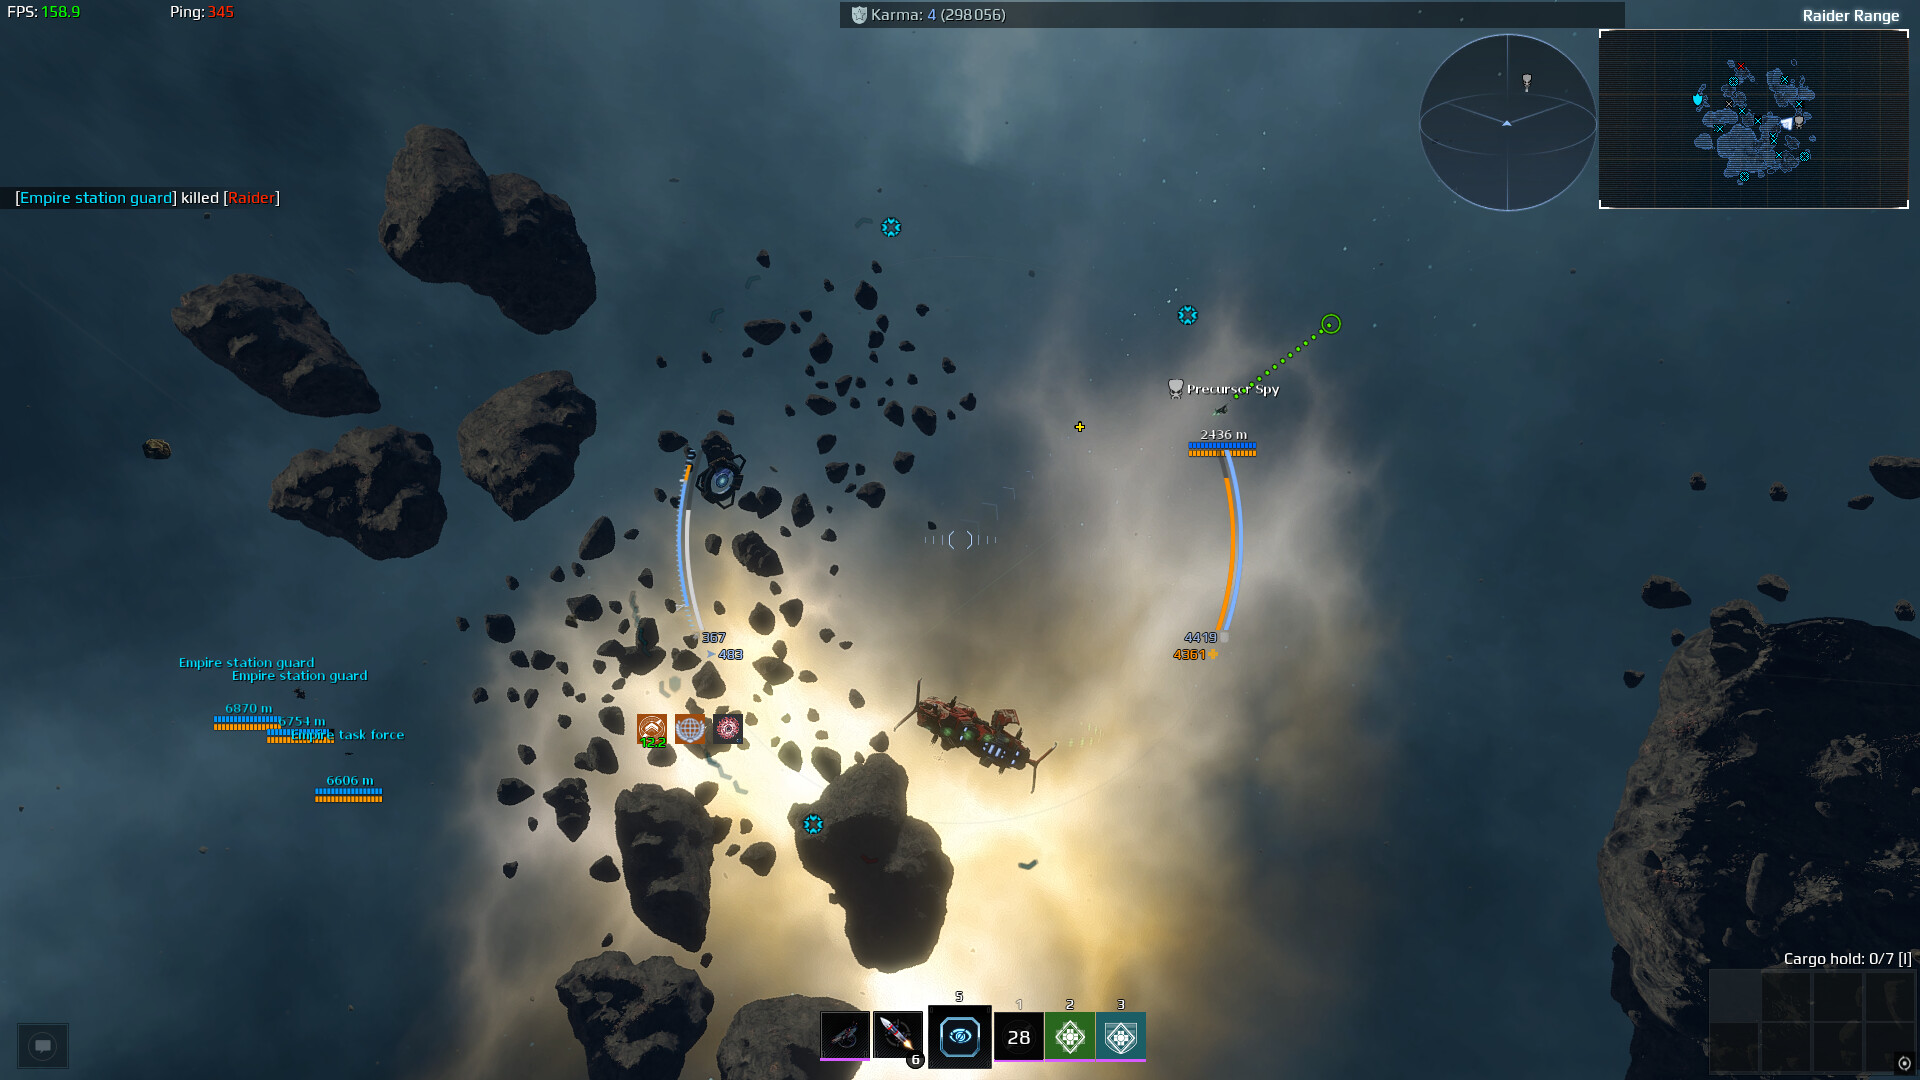
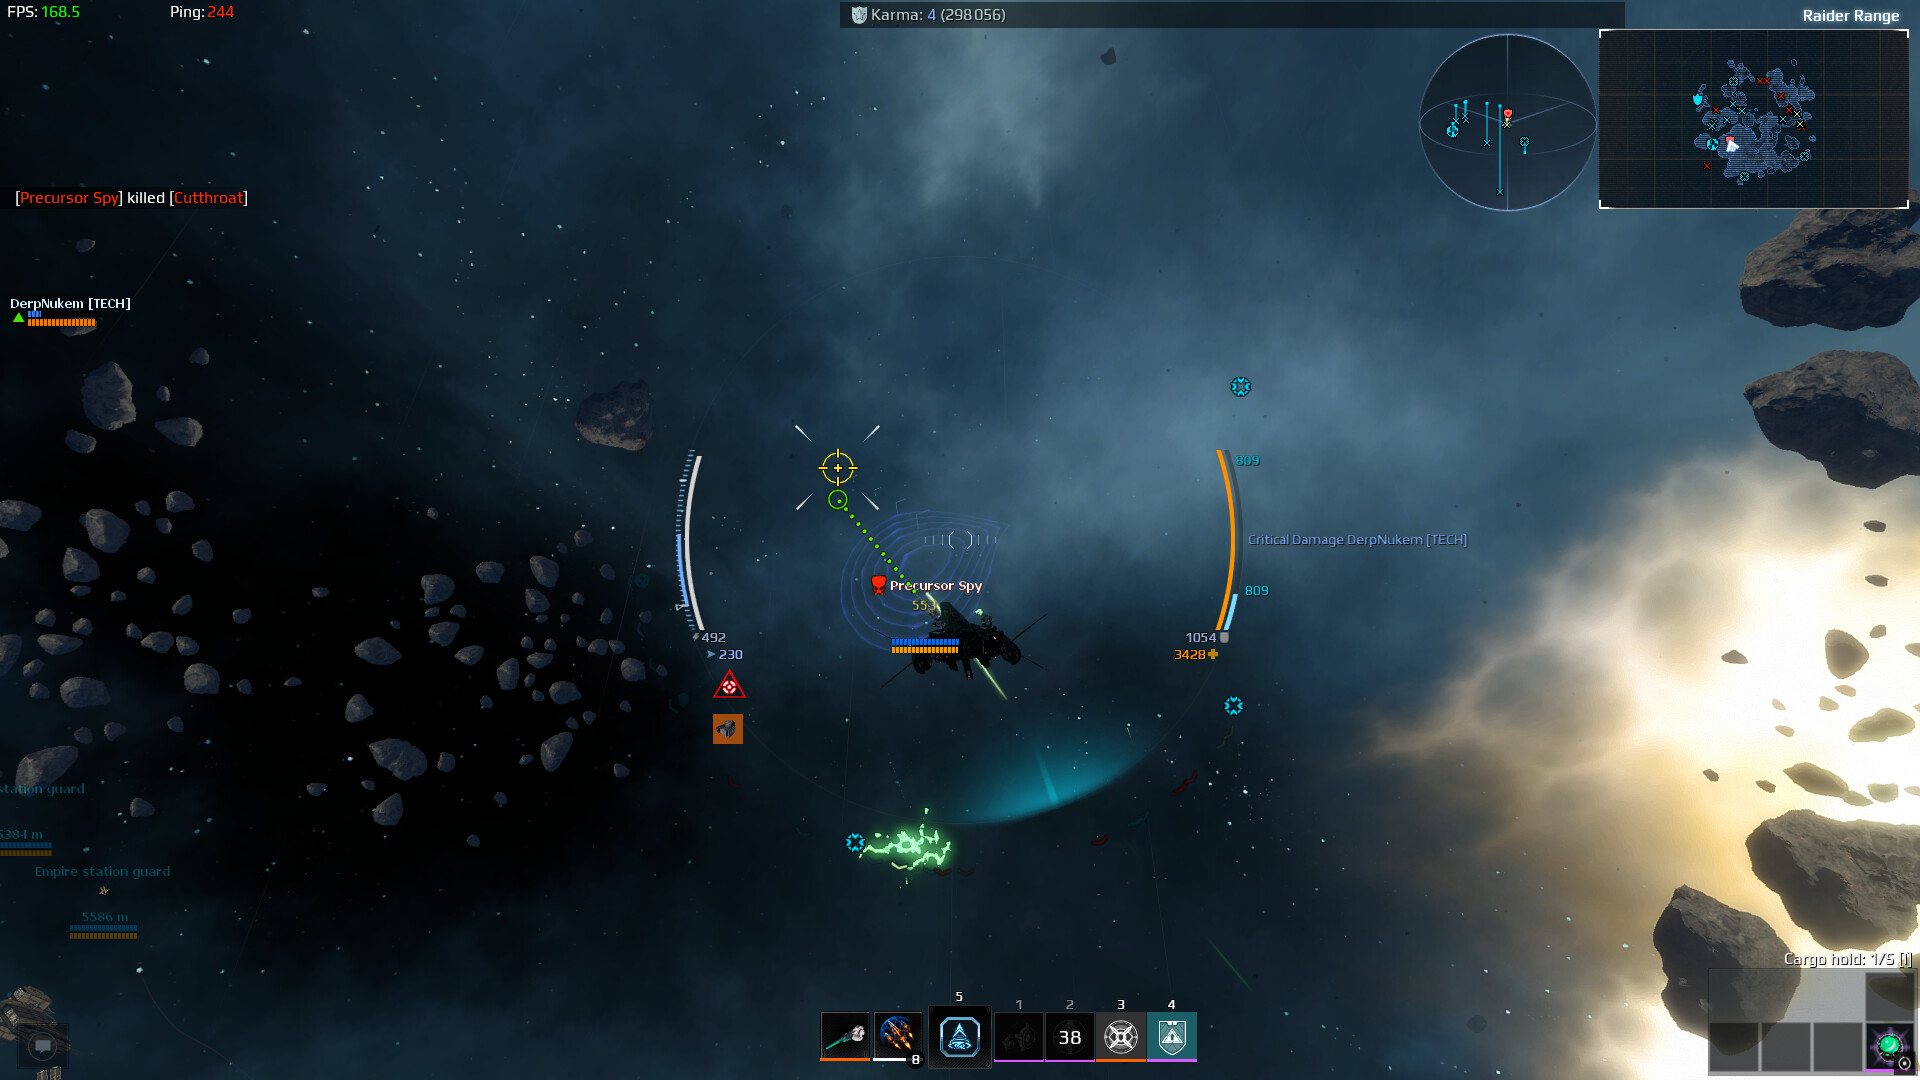
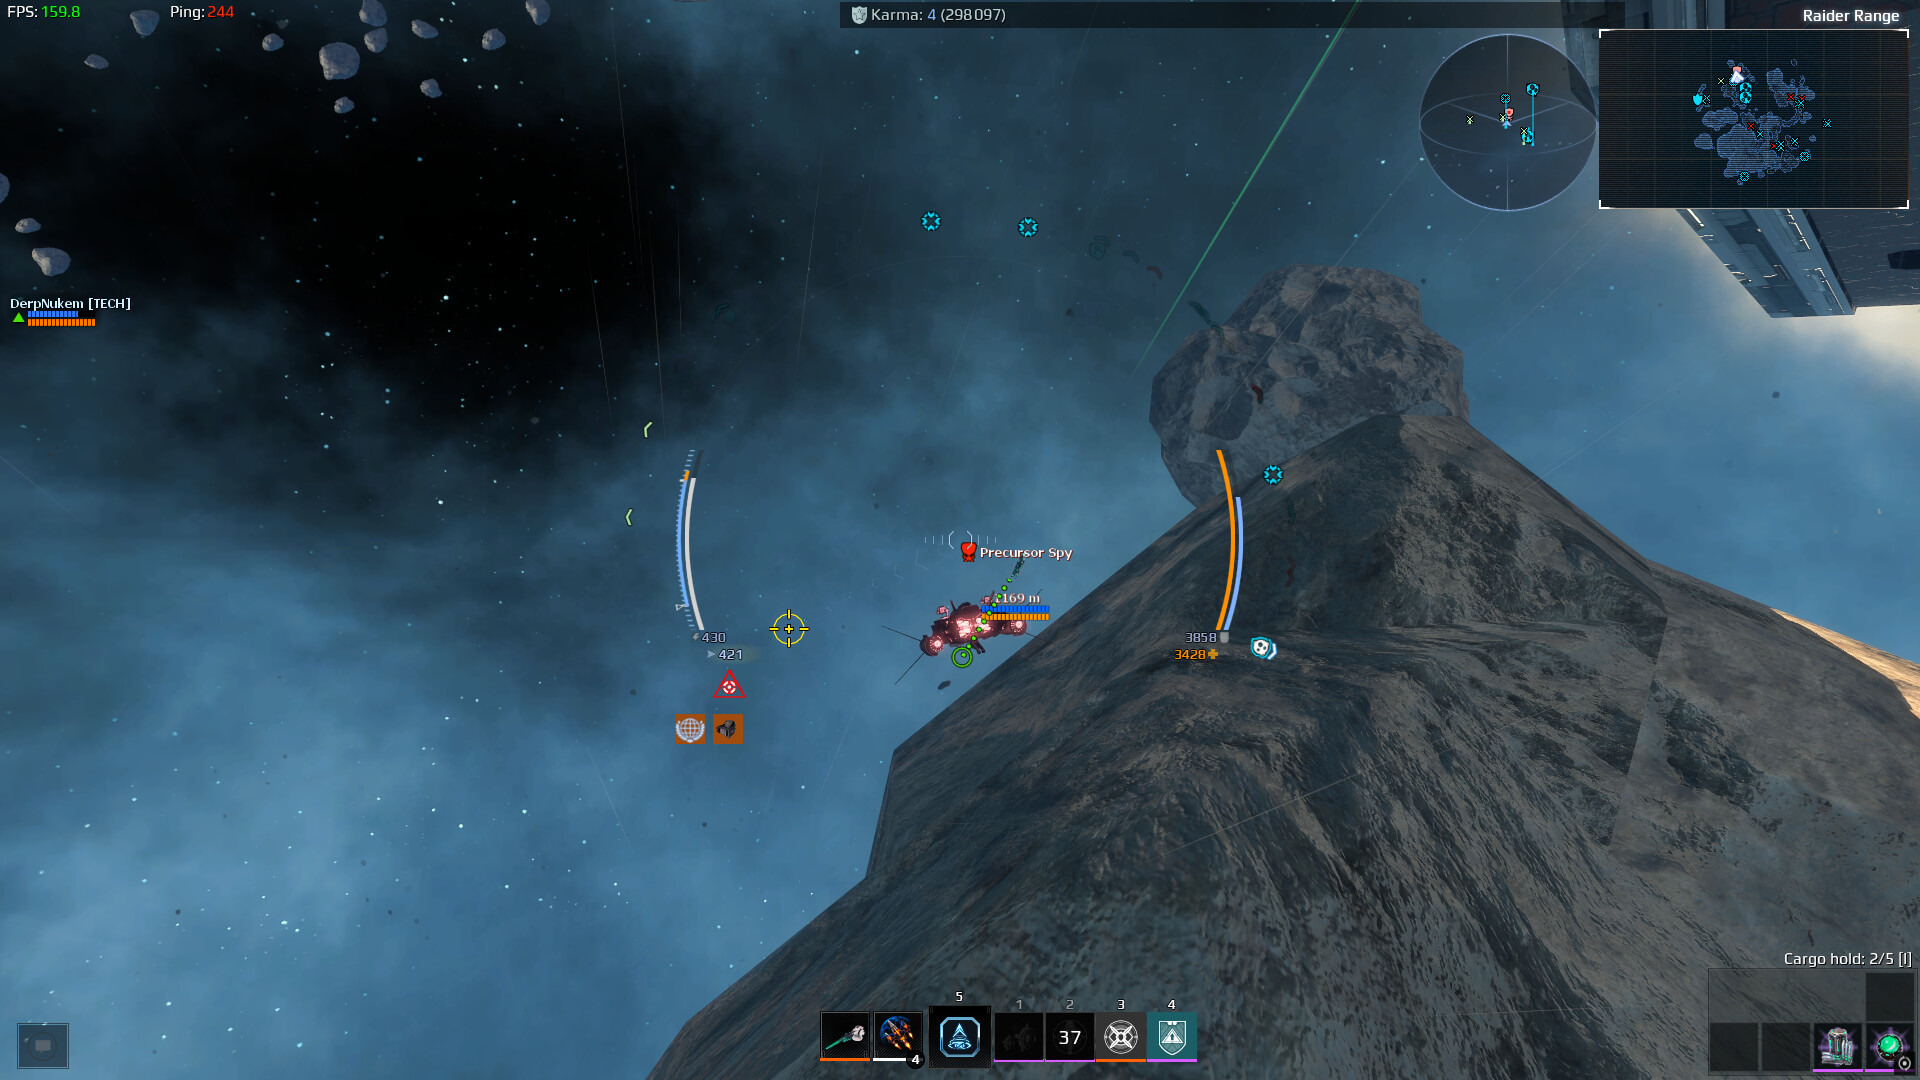
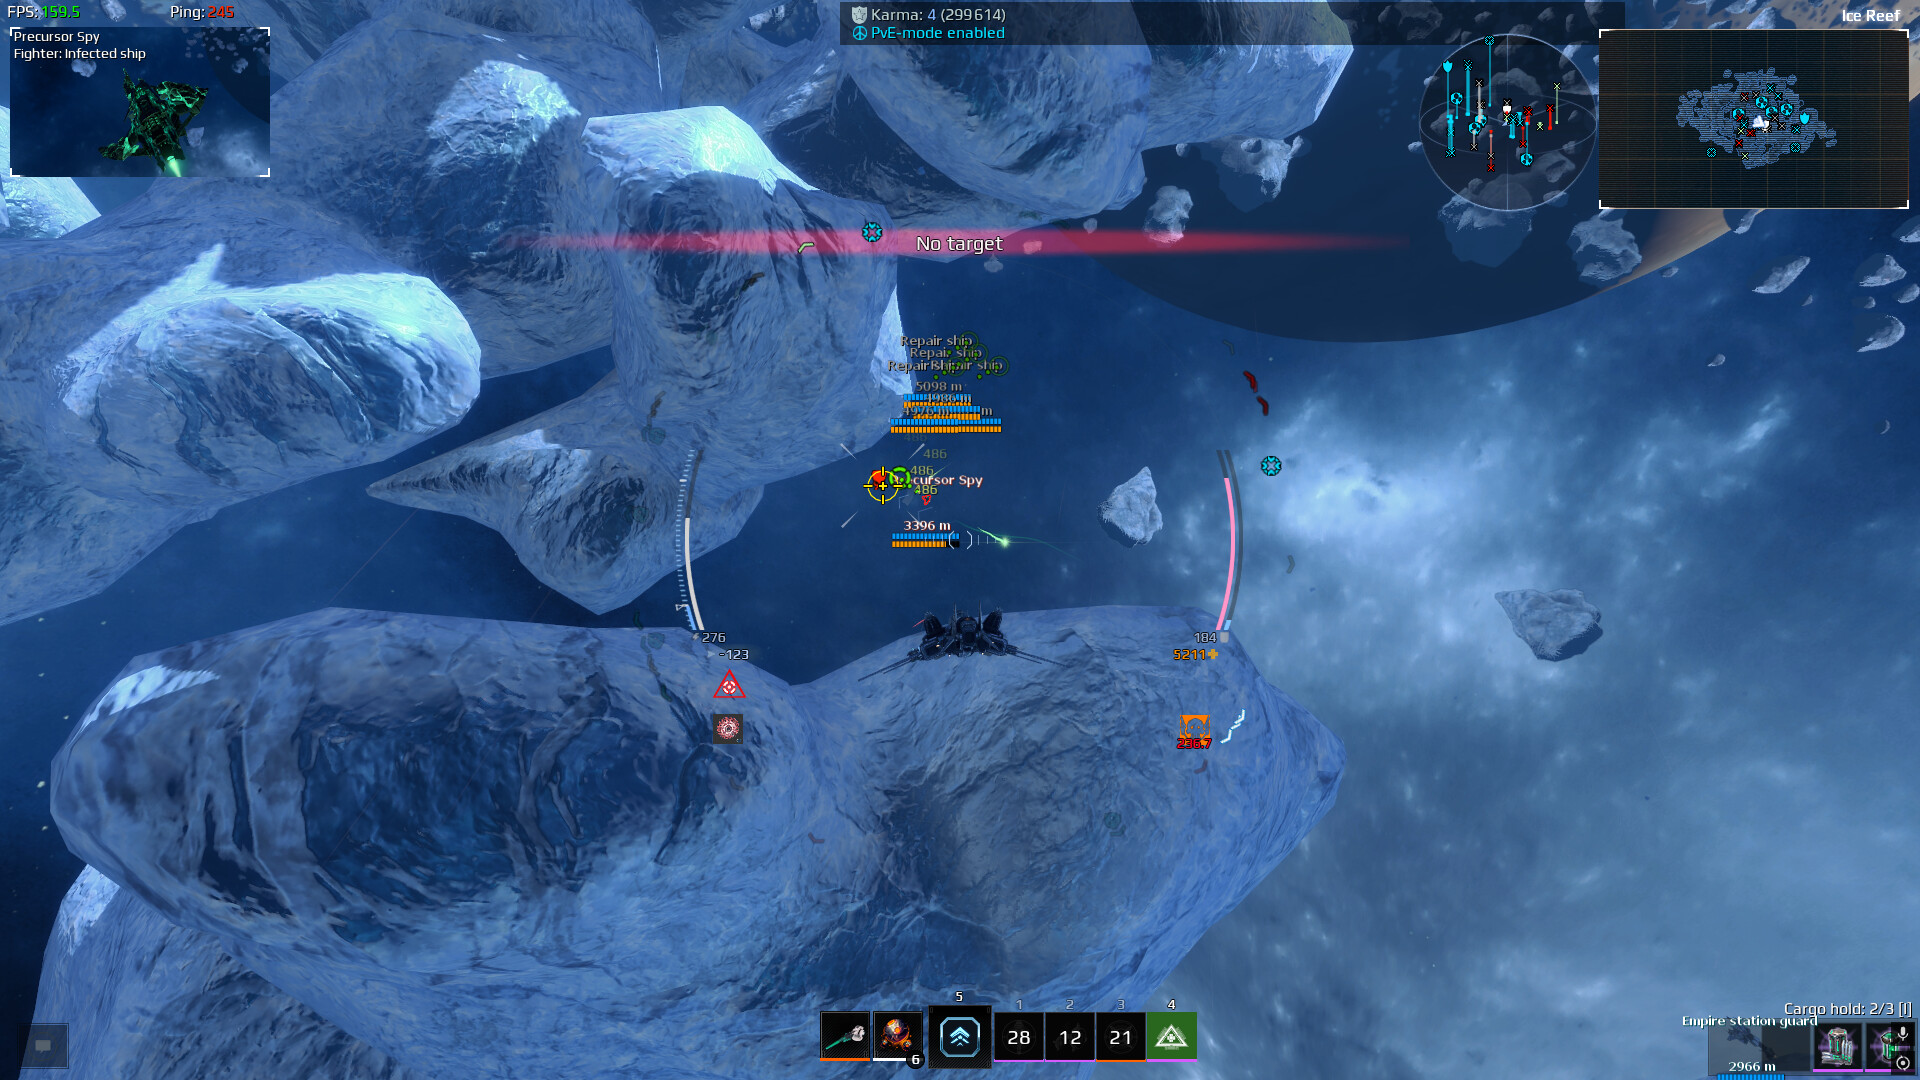
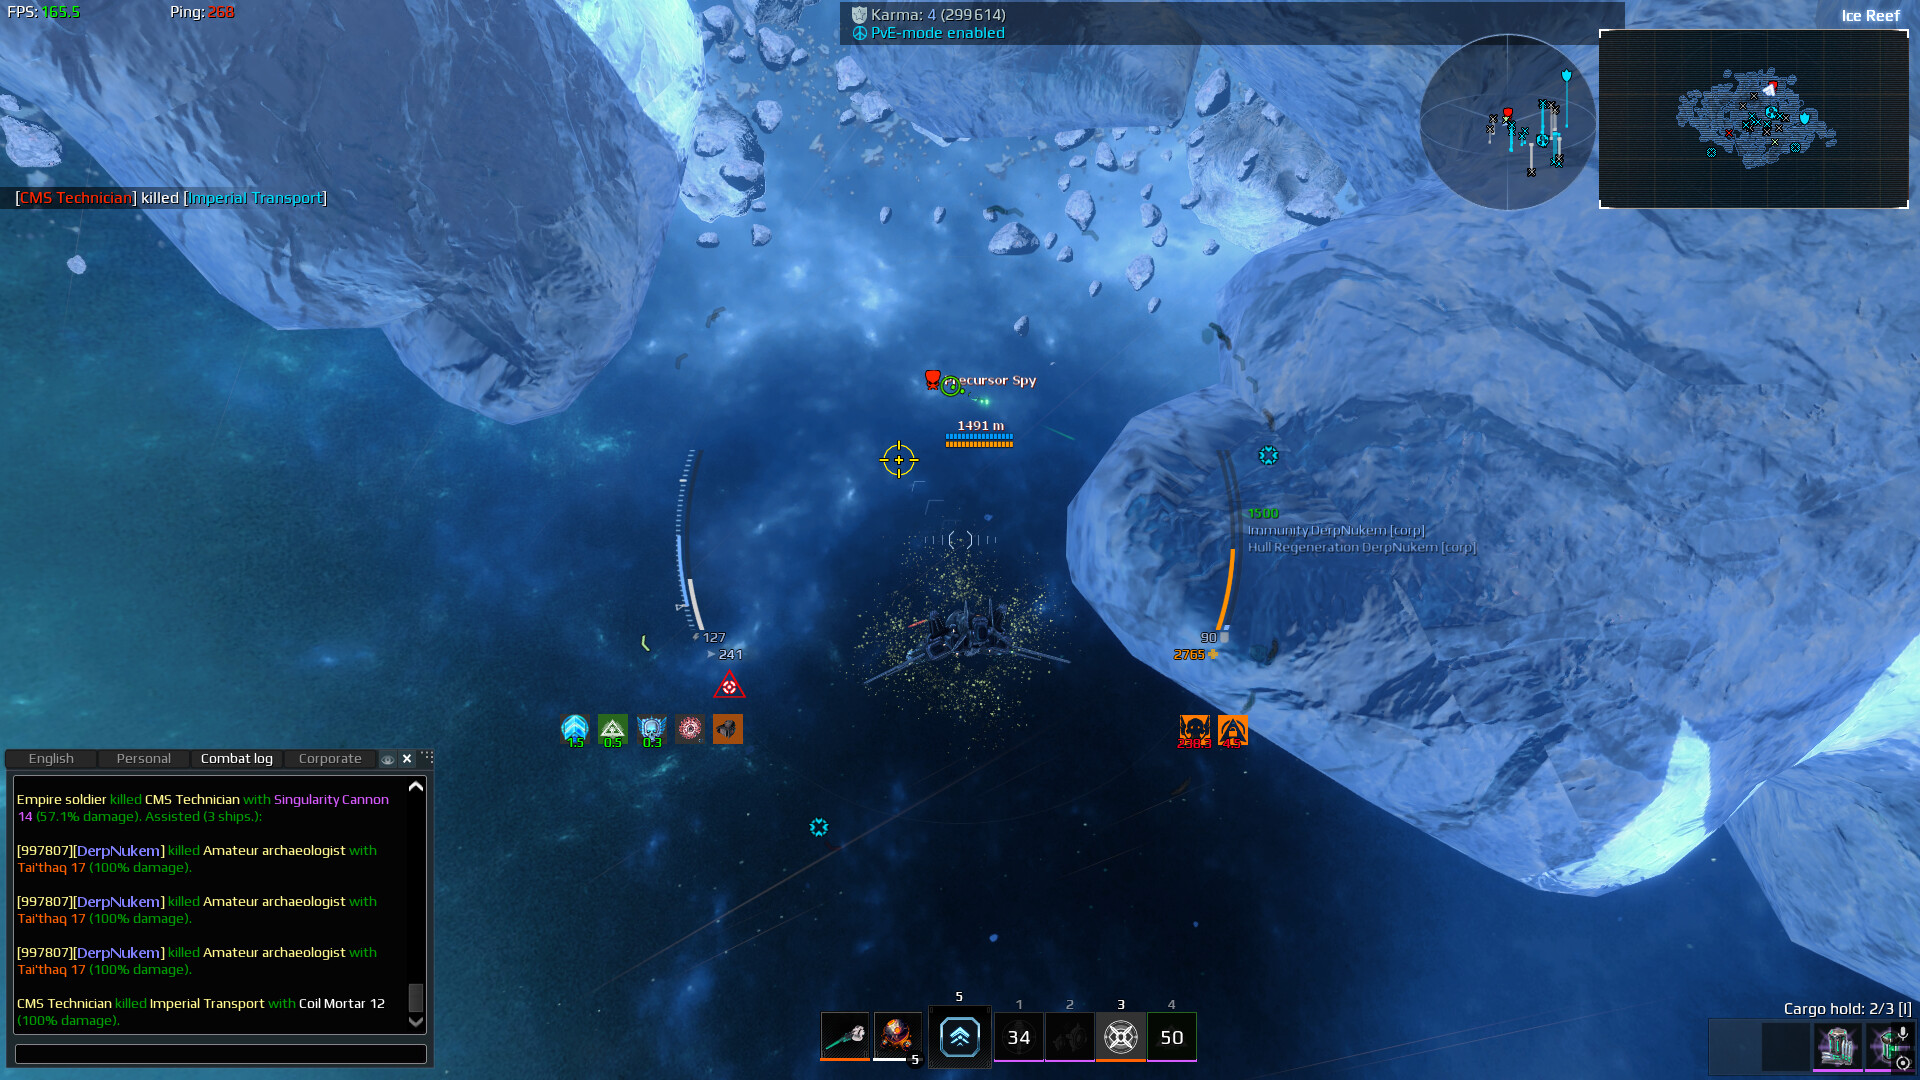
This time we’re headed out to the Ice Belt - there are a couple of “Precursor Spies” pathing around the sector, so you may want to bring a faster ship. A gunship, command or Covert Ops should cover it as I’m not sure if Resonating ammo will work on these fellas.
I have only seen two locations where the spies spawn and both seem to path around fairly haphazardly.
One paths around near the structure at the edge of the sector, near the station and the other frequently paths under the Cartel Dreadnought in the middle of the sector.

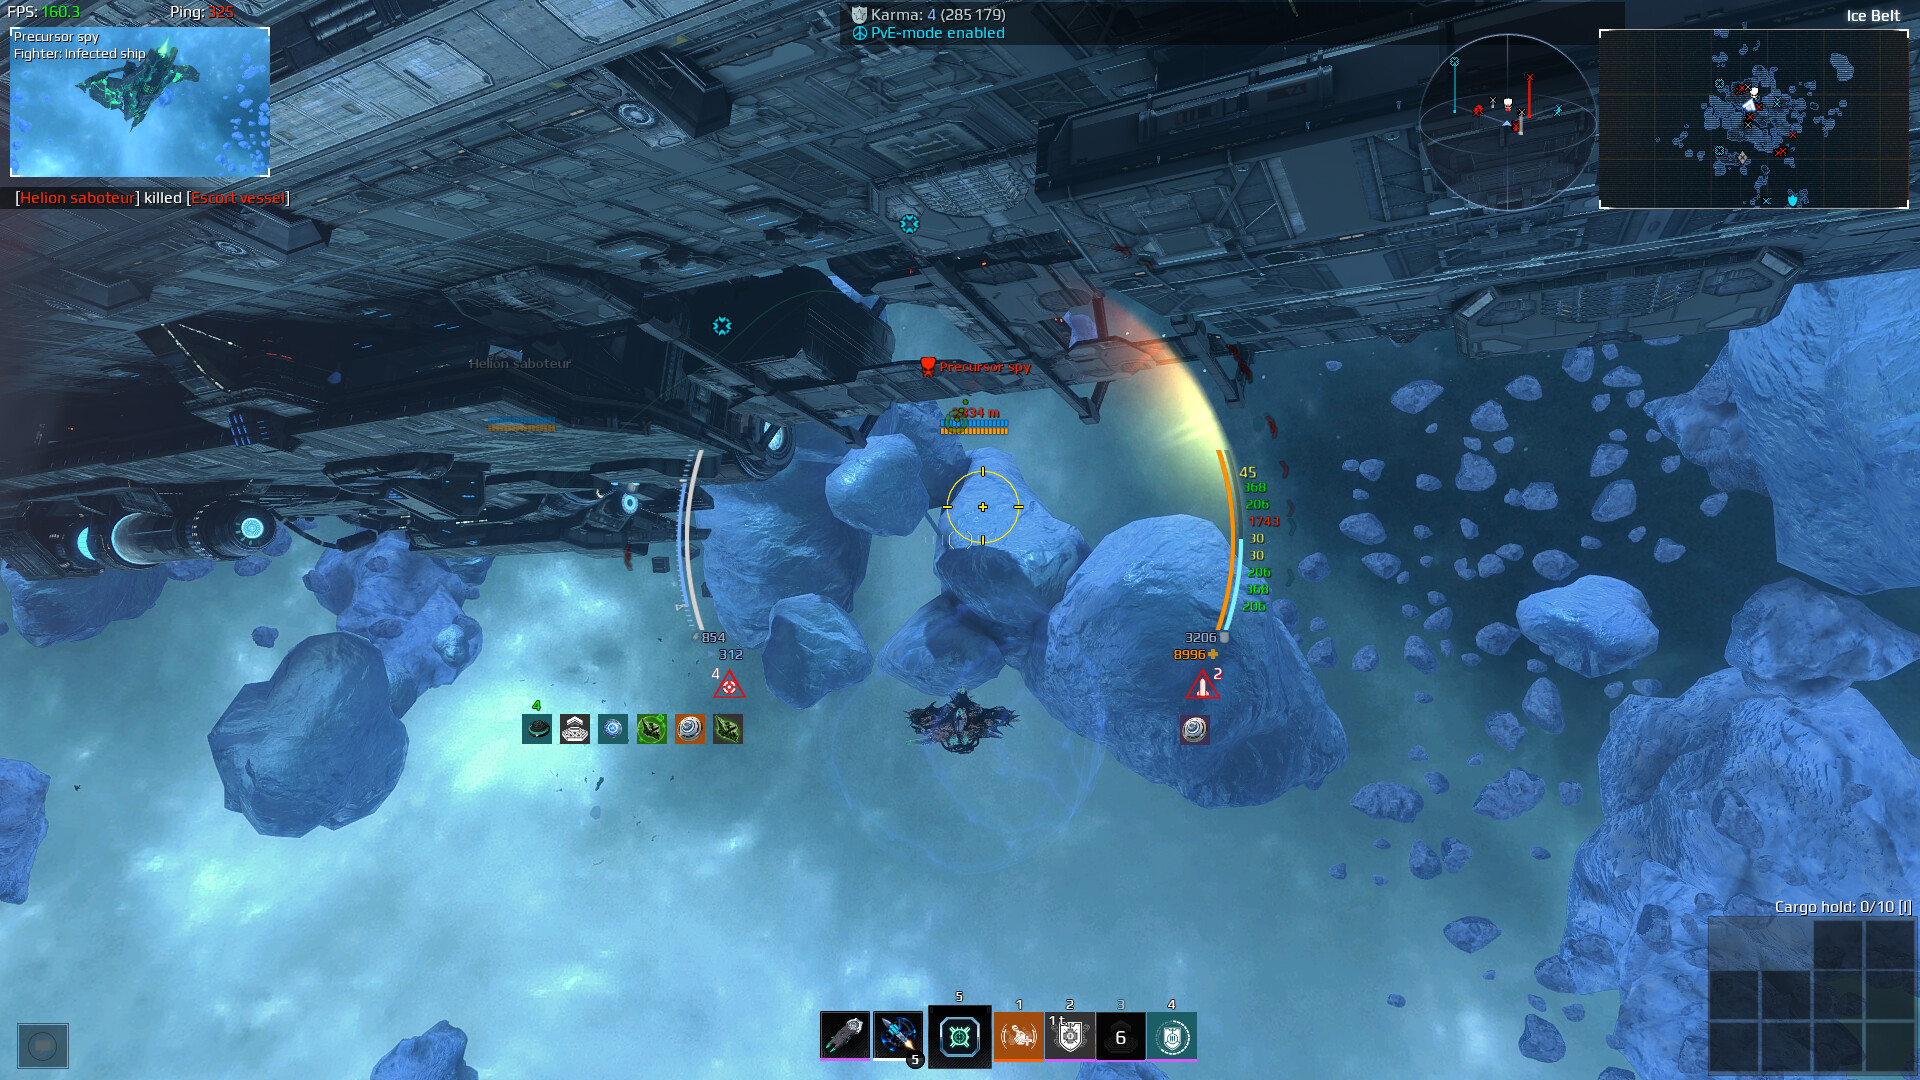
The spy that paths under the dreadnought at the very least in my experience is able to drop Dissonant Ammunition even while Inverter has been temporarily nerfed.

There have been also reports of Precursor Spies spawning in Abandoned Beacon and Colonization Hub. I will update the spoiler with screenshots as I get them.

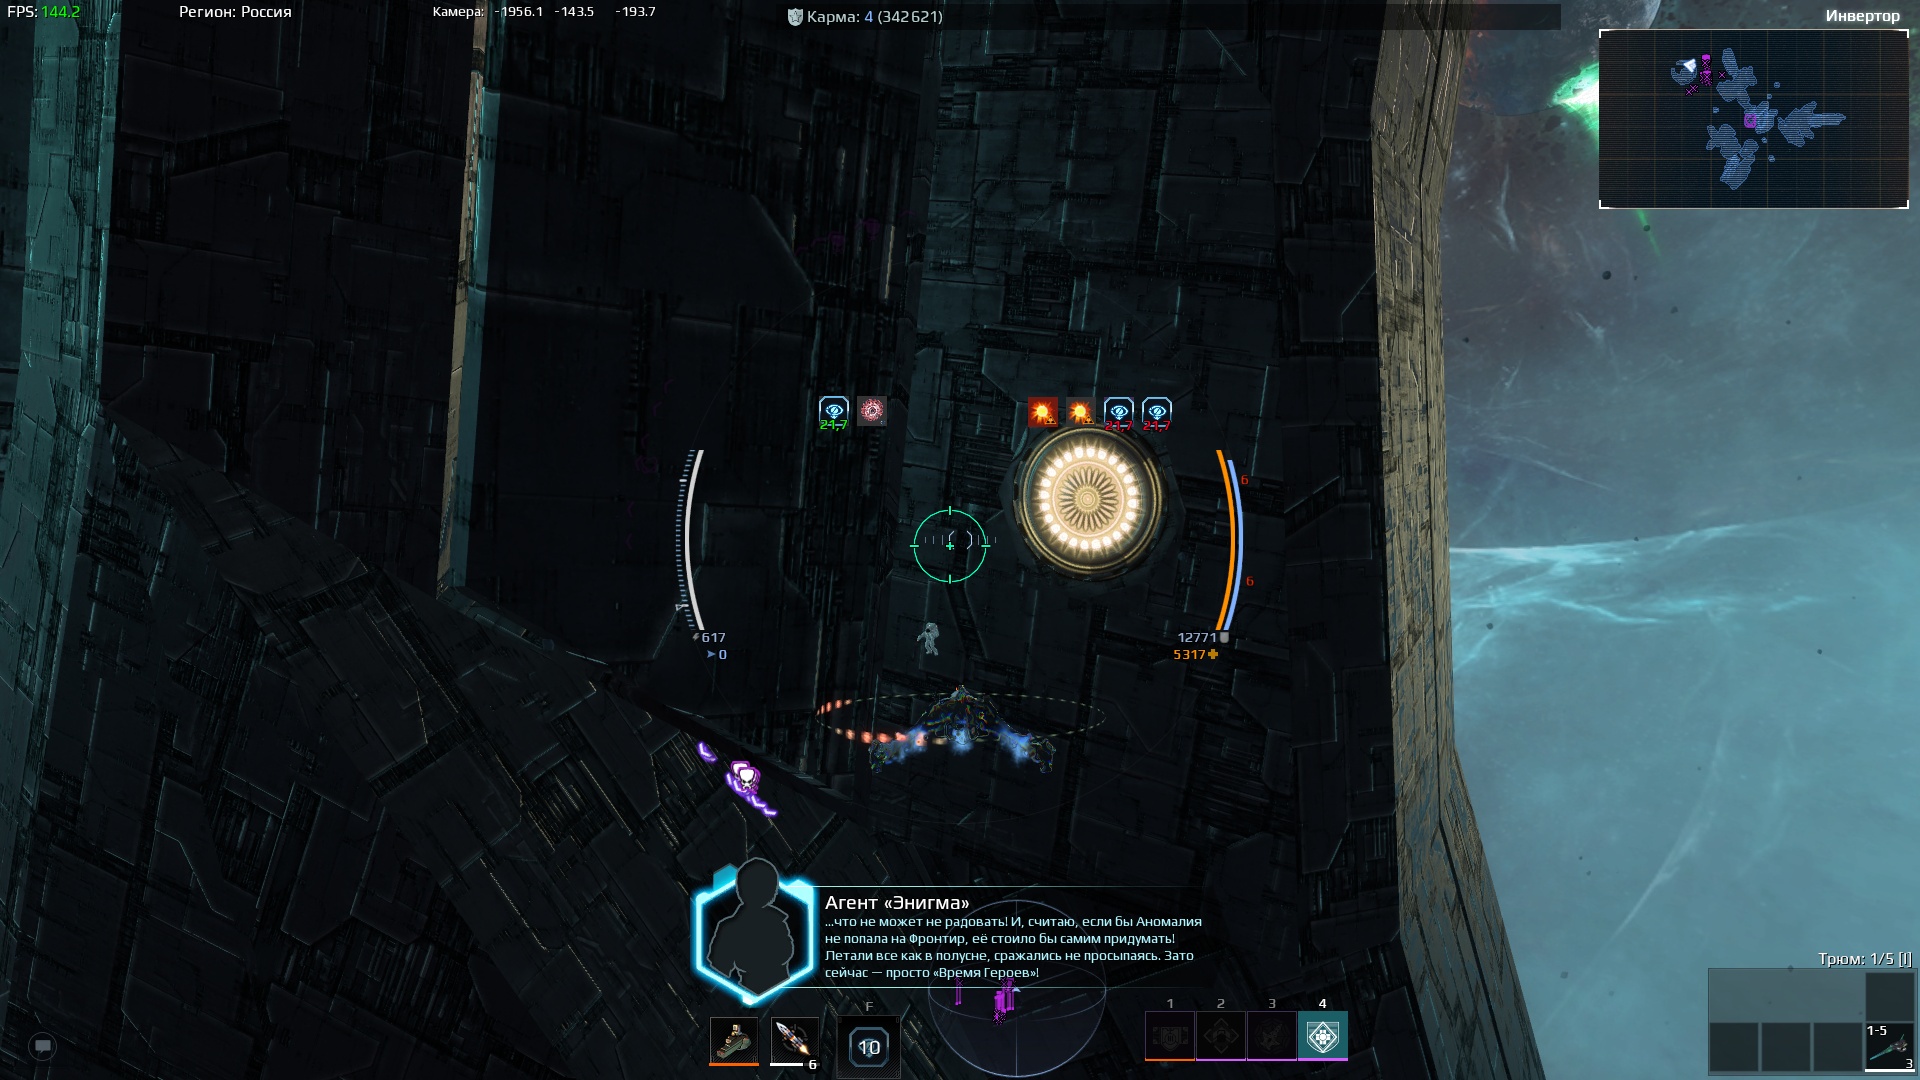
As per the dialogue of the last step, we’re going to the Shining for this step… well, kind of. We’re going to the Inverter sector. Our objective for the step is on the back of the Ellydium Dreadnought Defiant. It should be fairly obvious where in the sector it is. Just go fly up to the object and that’s the step done. Go get some Dissonant ammo from a spy and get to farming.

The hint for this step might have gone over the heads of some but the answer to “beta pegasus” is the Scheat system, so we are going to the Alpha-7 Complex today.
There are a total of five precursor spies spawned at a time. Four of them will be located at the Beacon A cave whilst the fifth spy will be pathing around the borders of the sector at close to 800m/s. Honestly I would suggest ignoring the fifth spy in favour of forcing a new instance to spawn to grab the first four again.

Once again, these spies can drop Infiltrator’s black box containers, dropping Dissonant ammunition.

If you ever need to force the game to generate a new instance in Open Space then leave your current instance, set a server preference not in the region of your last instance and wait a couple of minutes. You should wind up in a completely empty instance upon returning.
So our hint this time was the courier was at a station - you might not have expected them to be at the Eastern Mining Station this time around.
This step you will need a fast ship as the courier will be going 750m/s and require you to stay within 350m for 10 seconds. Of course I’m writing this as the step happened though, so the stupid goober gets stuck around the world border reliably, so just go find which patch of glue they decided to huff this time.
If it gets fixed then yes, bring a Spike or Tai’kin or something that can go 750 and maneuver very rapidly.
Anyways, pictures.


This step did not need much explaining thankfully - we’re headed back out to the Inverter sector once again.
You are going to need some Dissonant ammunition as we’re going to need to kill 3 Guardians.
That’s uh. That’s the step.
Next step is in 17 days so uh. Go read a book or something?
Okay so remember that one step that really sucked to do? Well we’re doing it again.
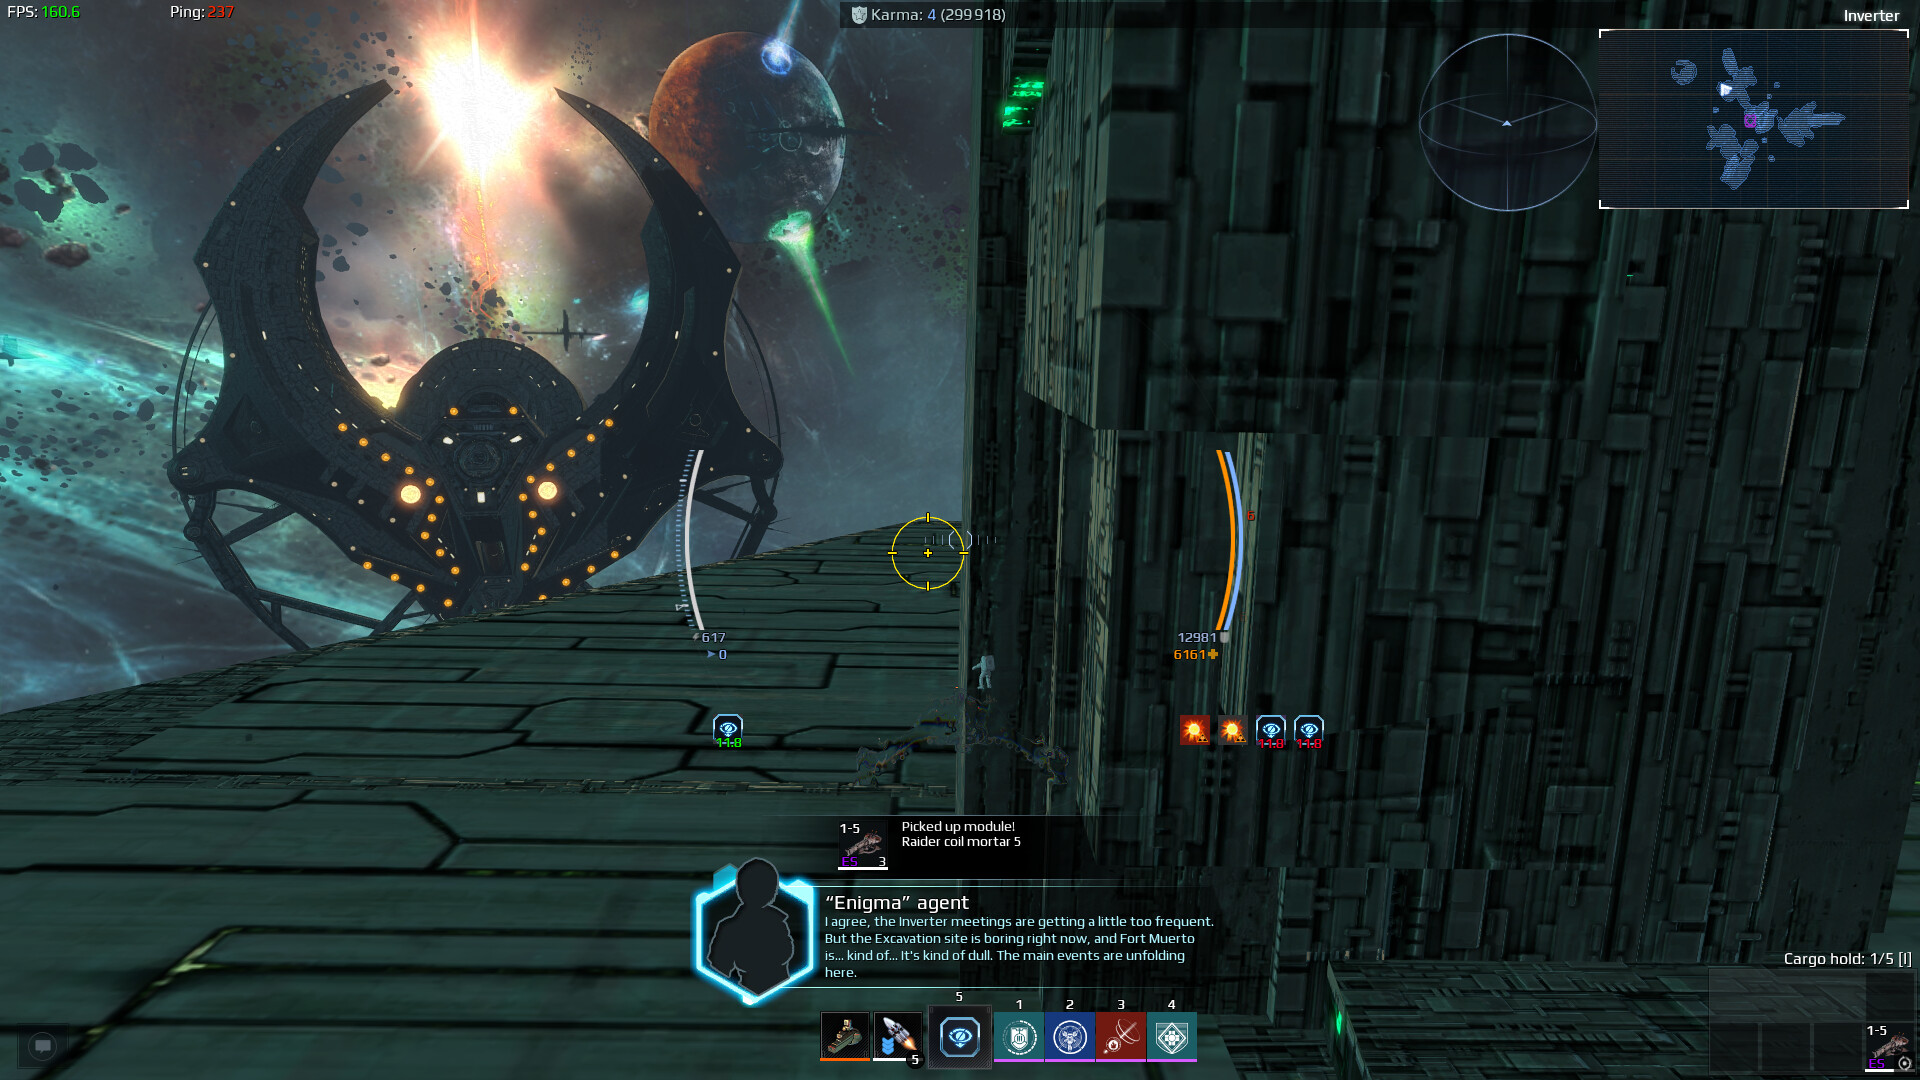
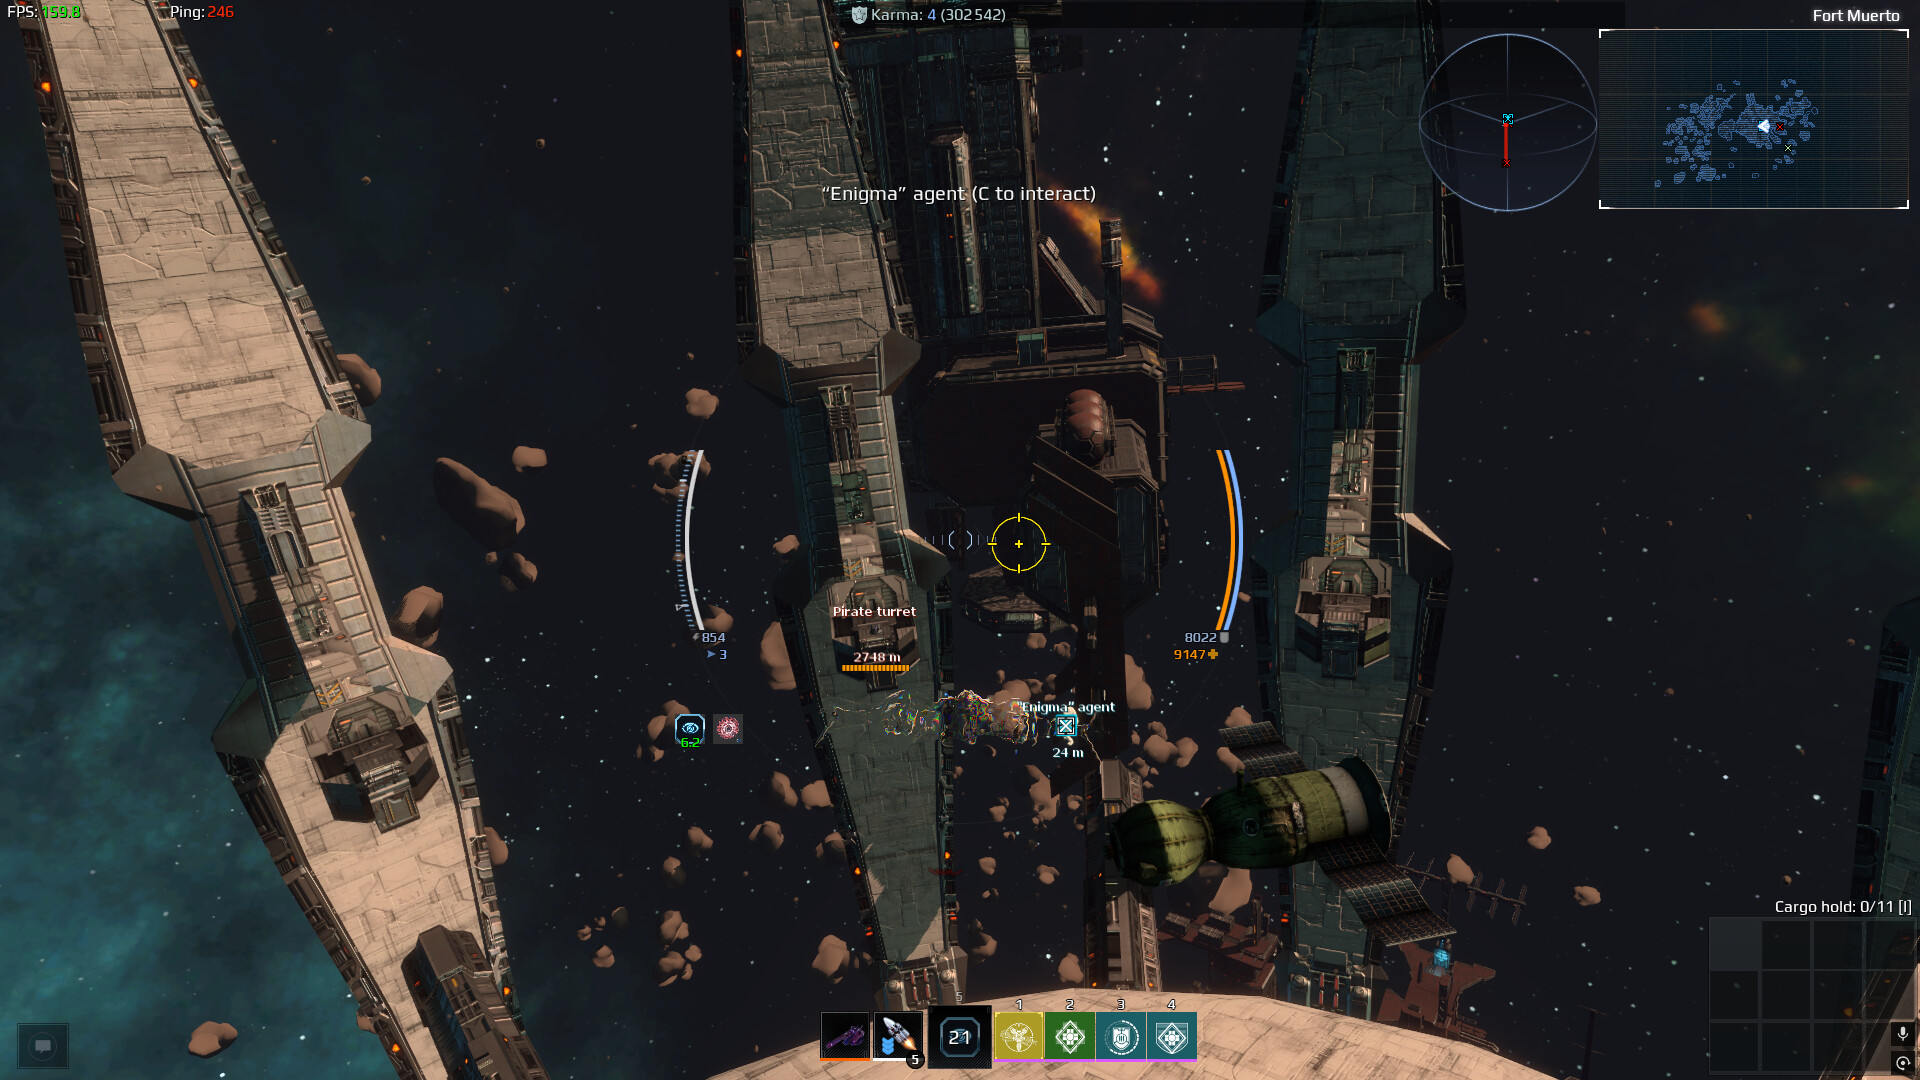
Our hint this time is “Rosso’s sector” which is in reference to the Pirate Baron Rosso. So we’re headed out to Fort Muerto this time around.
The Enigma Agent has multiple spawn locations again so if you manage to find the little sucker somewhere other than the locations in the post then please throw a screenshot into the replies. It’d be quite helpful.
Anyways, where I found the little space nugget:

Some other locations people have found it:


Each location where the Enigma Agent can spawn is surrounded by updated Turrets that deal fairly significant damage, so taking a Tackler to avoid dealing with them or a destroyer to just eliminate them is suggested.
Well, welcome back to more of the same but different.
Our hint this time was the “heart of the scorpion”. This was in reference to the “scorpio” constellation, of which only the Antaress exists in the game.
So far I have only found Precursor Spies in the Temple of Last Hope sector.
The spies are pathing around the edges of the sector F A S T and roughly 750m/s.
I would suggest if you’re doing this solo to either bring a speed built Thar’ga or a Tackler. I wouldn’t quite say it is worth wasting dissonant ammo on making sure the other Biomorphs die quickly but the Spies do not take bonus damage from alien munitions.
They also have a roughly 2km radar signature, so don’t bother stacking too much sensor range - you likely still won’t be able to see them till they’re in your face.

It is quite literally the same as step 9. Go to Fort Muerto and find an Enigma Agent.
You get 3 Dissonant ammo as a reward.
Same deal as before, the arena at the top of the map, the station off to the side (not where the PvE begins) or below the station where the turrets are located are three known spawn locations.
Take a Singularity or Tackler of your choice to avoid dealing with the turrets.
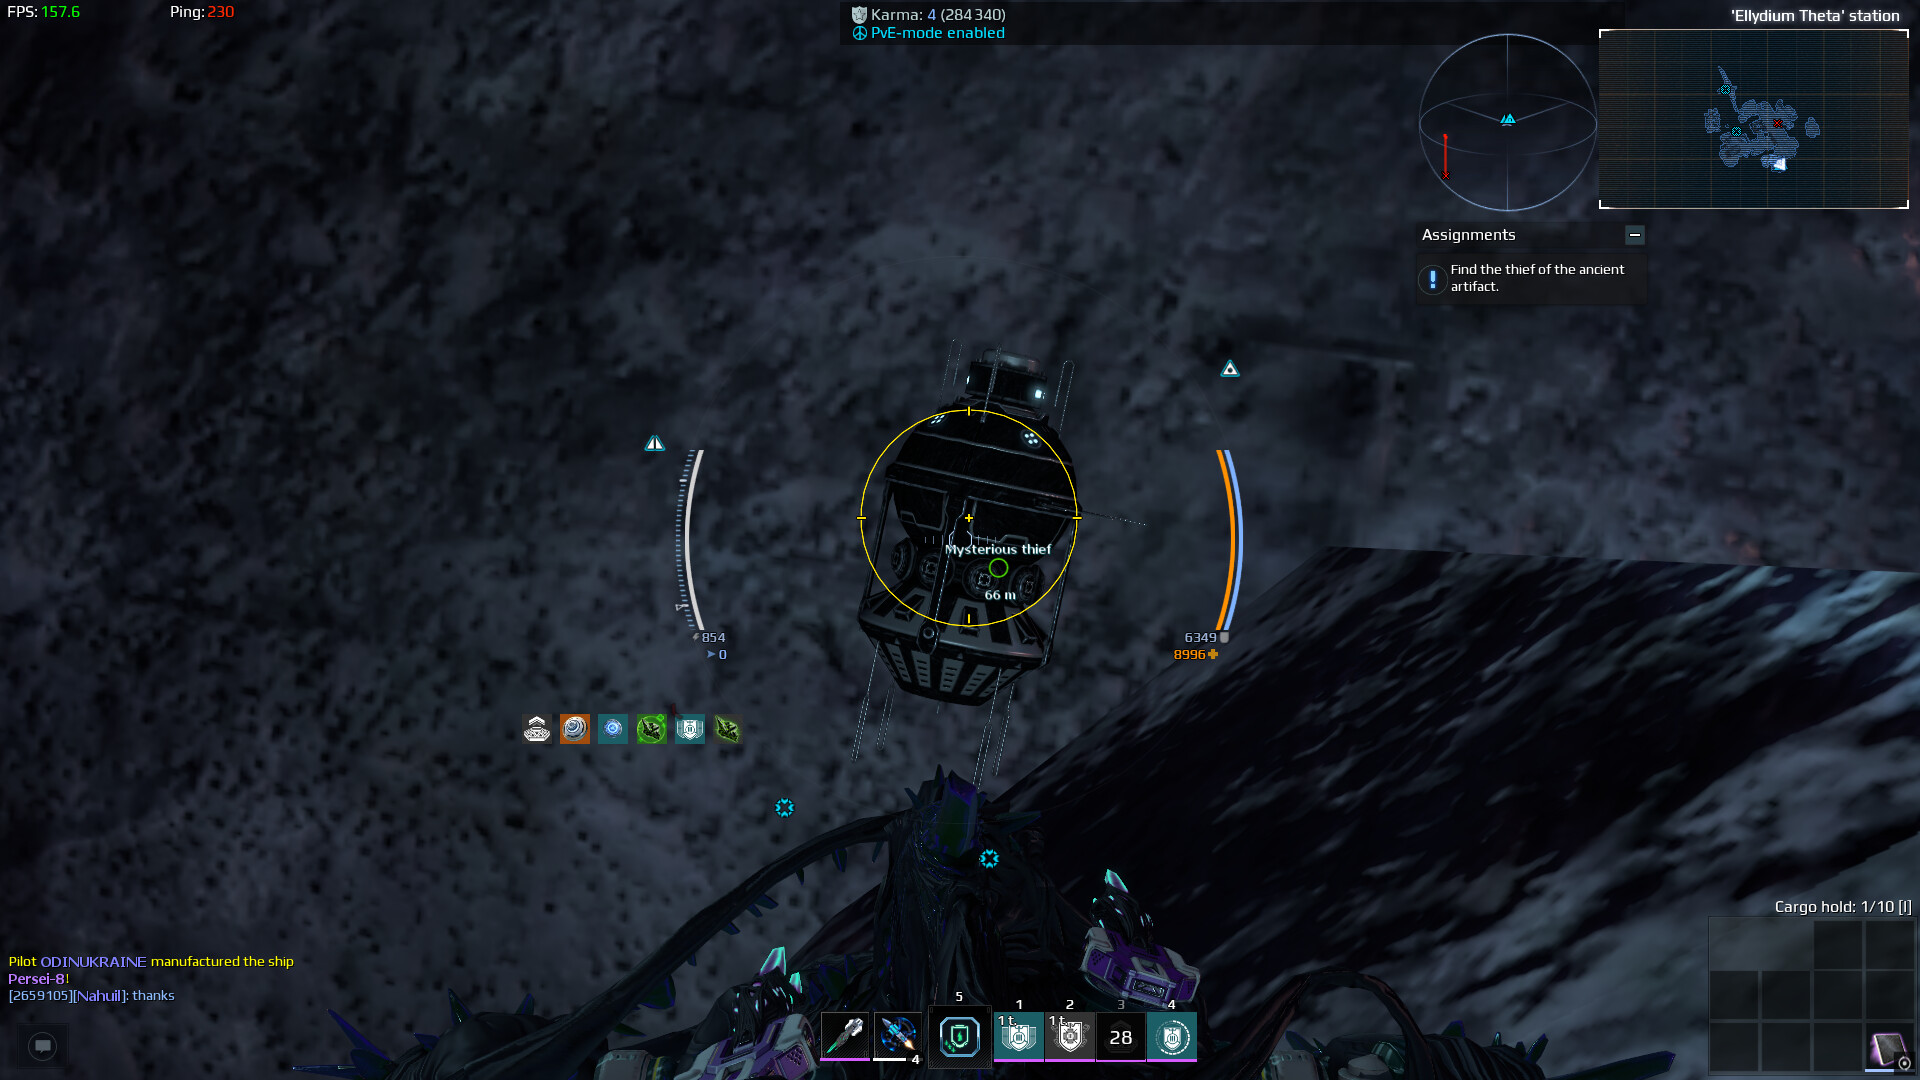
As predicted, our next step is in Solaris Wasteland, featuring the United Fleet Courier once more.

If you are planning on doing this step currently, bring friends and dissonant ammo.
For this version of the Courier step, you need to stay within 350m of the courier for 12 seconds.
If you are a higher ping player you are only really going to be able to complete this via cheese.
If the courier dies AT ALL you will be required to wait 1 hour to try again.
My current suggestion is to bring 2 friends. Either take 2 tacklers or a Dyrnwyn and a Tackler. Have your friends aggro the courier and apply slows to slow down the courier.
If you are bringing ECMs, aggro the courier and apply stasis. Upon getting within 350m double tap the special module of Dyrnwyn to completely stop the courier for ~5 seconds. This should help complete the step without the courier getting ganked by hunters constantly.
Once again, the courier goes roughly ~700 and has a reduced sensor signature, but not as aggressively as the Precursor Spy units - so bringing some sensor range will help.
After that nightmare of a step we have something quite easy to do honestly. Step 13 takes us back to Fort Muerto hopefully for the last time.
This step requires you to kill 15 turrets.
That’s all there is to it.
Take a LRF, Destroyer, Command or whatever - just take a ship you feel comfortable using and that is capable of killing the turrets around Fort Muerto.

Alright - so our hint this time was a “Safari in their habitat”. Well, this was talking about PB-42.
All you need to do for this step of the adventure is kill 15 Large Crystallids.
Man this step feels short to write out.
Another short and sweet one - as SunGear guessed, the answer to the hint was indeed the Nith system. The other part of the hint was “unknown weapon” which simply put… it means we need to kill five Guardians. There is a post a little further down that shows where and how to farm Guardians safely in the Inverter Sector. But make sure to bring Dissonant ammunition. Enemies in Inverter aren’t very possible to kill without it.
Well, apparently the hint this time was a bit of a mess. Our destination this time was… Inverter again.
Our objective is to once again go visit Lieutenant Ramirez at the Defiant.
Apparently “Captain Bacon” is a thing?

GIVE IT UP FOR STEP 17 EVERYBODY!
Minor insanity aside - as per predictions our “missing dreadnought” was indeed the Northstar Crashsite.
We are once again welcomed by our worst enemy; the “United Fleet Courier” and once again they have made their demands even stricter.
This time we are expected to stay within 200m for 15 seconds. If you are high ping. With all due respect - forget it. Wait for the courier to get stuck on the terrain of the map or steal an enemy it is busy fighting. This courier has far less health so aggro’ing it to tackle it as hard as possible (via shenanigans like Persei’s special module, Trap Mine or Slowing Projector) is not really an option.
During my step I opted to wait for the courier to aggro the frigate in the middle of the map and then pin it against a wall to break the courier’s Ai. There are many ways to break the rules so find one that fits you.

Next step on our very brief adventure is Smugglers Hideout. As per the hint, there are three precursor spies you need to kill.
As per how the rest of this adventure has been going, these spies have significantly reduced sensor range yet again and path around the sector. So taking a Tackler with Slowing Projector will likely be very helpful for killing the spies quickly.

If you’re looking for a landmark to pick up on the trail of the spies from - hang around the Vanguard Outpost Gate. The spies path under the structure now lined with turrets.
In the event you couldn’t figure out our destination by the hint, yes - we are yet again going back to the Inverter.
This is yet another simple step - all you need to do is go back down to the Dreadnought ‘Defiant’ and speak to Ramirez.
Alright, so the next step in our adventure is out at the Naberia-392 Complex. Once again we are revisited by the United Fleet Courier although in a somewhat sick twist, this one doesn’t quite need to be cheesed as much as the last ones.
I would highly suggest following the advice of the hint and bringing a Lynx-m or Tiger M15A3 with a Dawn Locator as the higher rank version has a significantly higher cooldown and lower duration.
You will be needing a Dawn Locator as our friend is entirely invisible this time around although flying at a much slower pace.
According to the dialogue, the requirement for the courier has grown stricter again - requiring staying within 200m for 10 seconds.

Much like prior UFC steps with a health bar, if the little nugget dies you will be required to wait an hour before attempting the step again, so I would advise you to make sure you get a new instance when going to make an attempt. It would be quite unfortunate if you load into a pre-existing instance and the courier dies before you can find them.
For a small tip on this one - find the courier shortly after loading into the map. If you picked a new instance it will spawn after ~30 seconds to a minute delay under the Devil’s Jaw gate and remain visible for a few seconds. Use Dawn Locator to keep it visible and track it around the map. The easiest time to complete the data transfer will be when the courier passes the station, as it will be travelling in a relatively straight line at low speed. If you fail to complete the step here I would suggest leaving the sector for ~5 minutes as the courier will die to the lava stream damage the next lap of the map.

If you’re struggling with this step but you’re able to phone a friend - have someone come along in a Destroyer with a low damage coilgun. When you go to decloak the courier with Dawn Locator have them aggro the courier. Apparently this will result in the courier stopping to fight the destroyer, letting you complete the step somewhat easily.
Thanks to CaptainSkylark for this tip.

O K A Y - so this step is going to be a bit rough since I’ve been set back a bit, but for now here’s the deets.
Our destination is once again Fort Muerto, this time looking for another set of Precursor Spies. The spies spawn at the main structure to the right of the map where the first two energy generators are during the “Pirate Fort Raid” PvE and path to where the shield controller spawns, going to the bottom of the structure from there. If you ever lose the group of them just keep on an eye on the spawn area as they’re fairly obvious against the darker background.

Once again these spies do sometimes drop dissonant ammunition, so it may be worth your while to kill two, leave for 5-10 minutes and come back to kill another set of three while you’re on the step to maybe grab another piece of ammo while you’re at it.
Back to Inverter.
Yes. Again.
This time we’re looking for Enigma Agents and the developers were not playing nice with this one. Same business as usual but REALLY keep your eyes peeled as they aren’t really by landmarks.
As per prior steps with this nuisance, I’ll be updating the post as more of these nuggets are found in game with screenshot references (I’m lurking in the discord again, so just dump 'em there).
Found Enigma Agent locations
From Johnnynator:

Where both DrOctagonapus and I found the agent:

From RoyalLace:

From XMaxF:

From ROKILL:

From FIREWARRIOR:

Also this is the step where we finally get the CPU modifier for the Hercules, so you have that to look forward to if you’re a collector.
Taking another step back from the “big three” step loops, we have a bit of a more simple one this time.
This step calls for the destruction of 20 crystallid watchmen - it does say with no dissonant ammunition but that’s because you just kind of don’t need it.
We’re going to the Destroyed Station location for this step and simply killing 20 “Crystallid Watchmen” enemies - they’re pretty easy to kill but if you’re struggling to stay alive then I would suggest taking an Empire Long Range Frigate, as these enemies once again count as Destroyers and take bonus damage from the Disintegrator.

Welcome to “the step where they don’t try to kill you” - now featuring… the location Wasteland and just actually, completely, 100% invisible precursor spies.
So as a result, if you’re doing this solo you have a couple of options - take one of the two “Dawn Locator” variants or… a Hercules with the “Aurora 2” modifier to decloak the spies.
According to the notes I have been provided (along with some very advanced diagrams) one of the Precursor spy groups spawn above the Collapsed Laboratory gate and then path around the edge of the sector at roughly the same height. A second group can also be found near the destroyed dreadnought, but I have not followed their pathing long enough.

One major thing to note however is these spies will drop “Snoop” scanner - so make sure to grab the containers they drop.

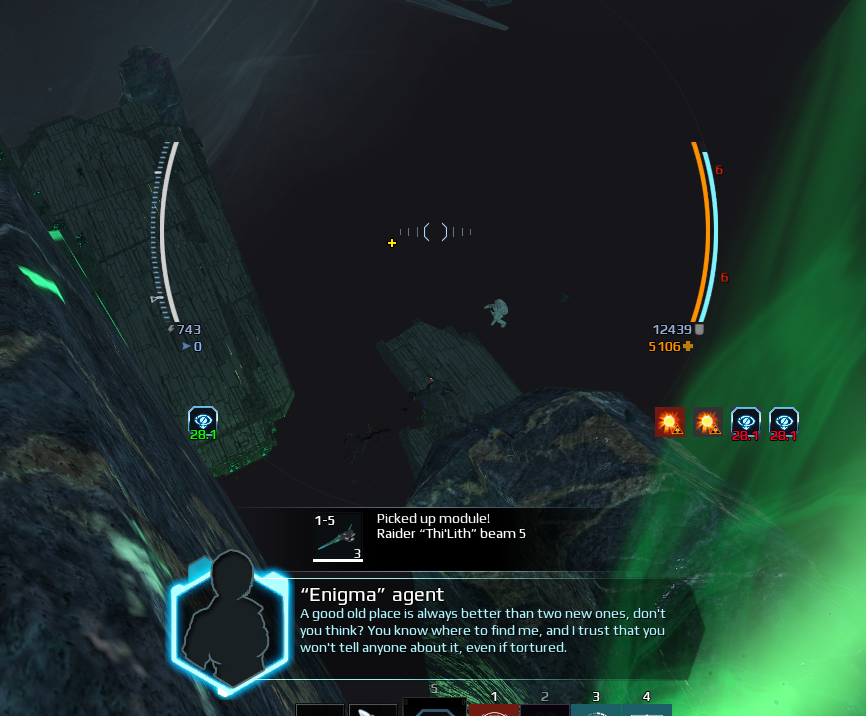
This step is pretty self explanatory - Meet the Enigma Agent at the previous meeting spot, so scroll back up and check out step 22 for where to find them.
This step does reward the Raider Thi’Lith Beam, so you have that to look forward to if you’re a collector.
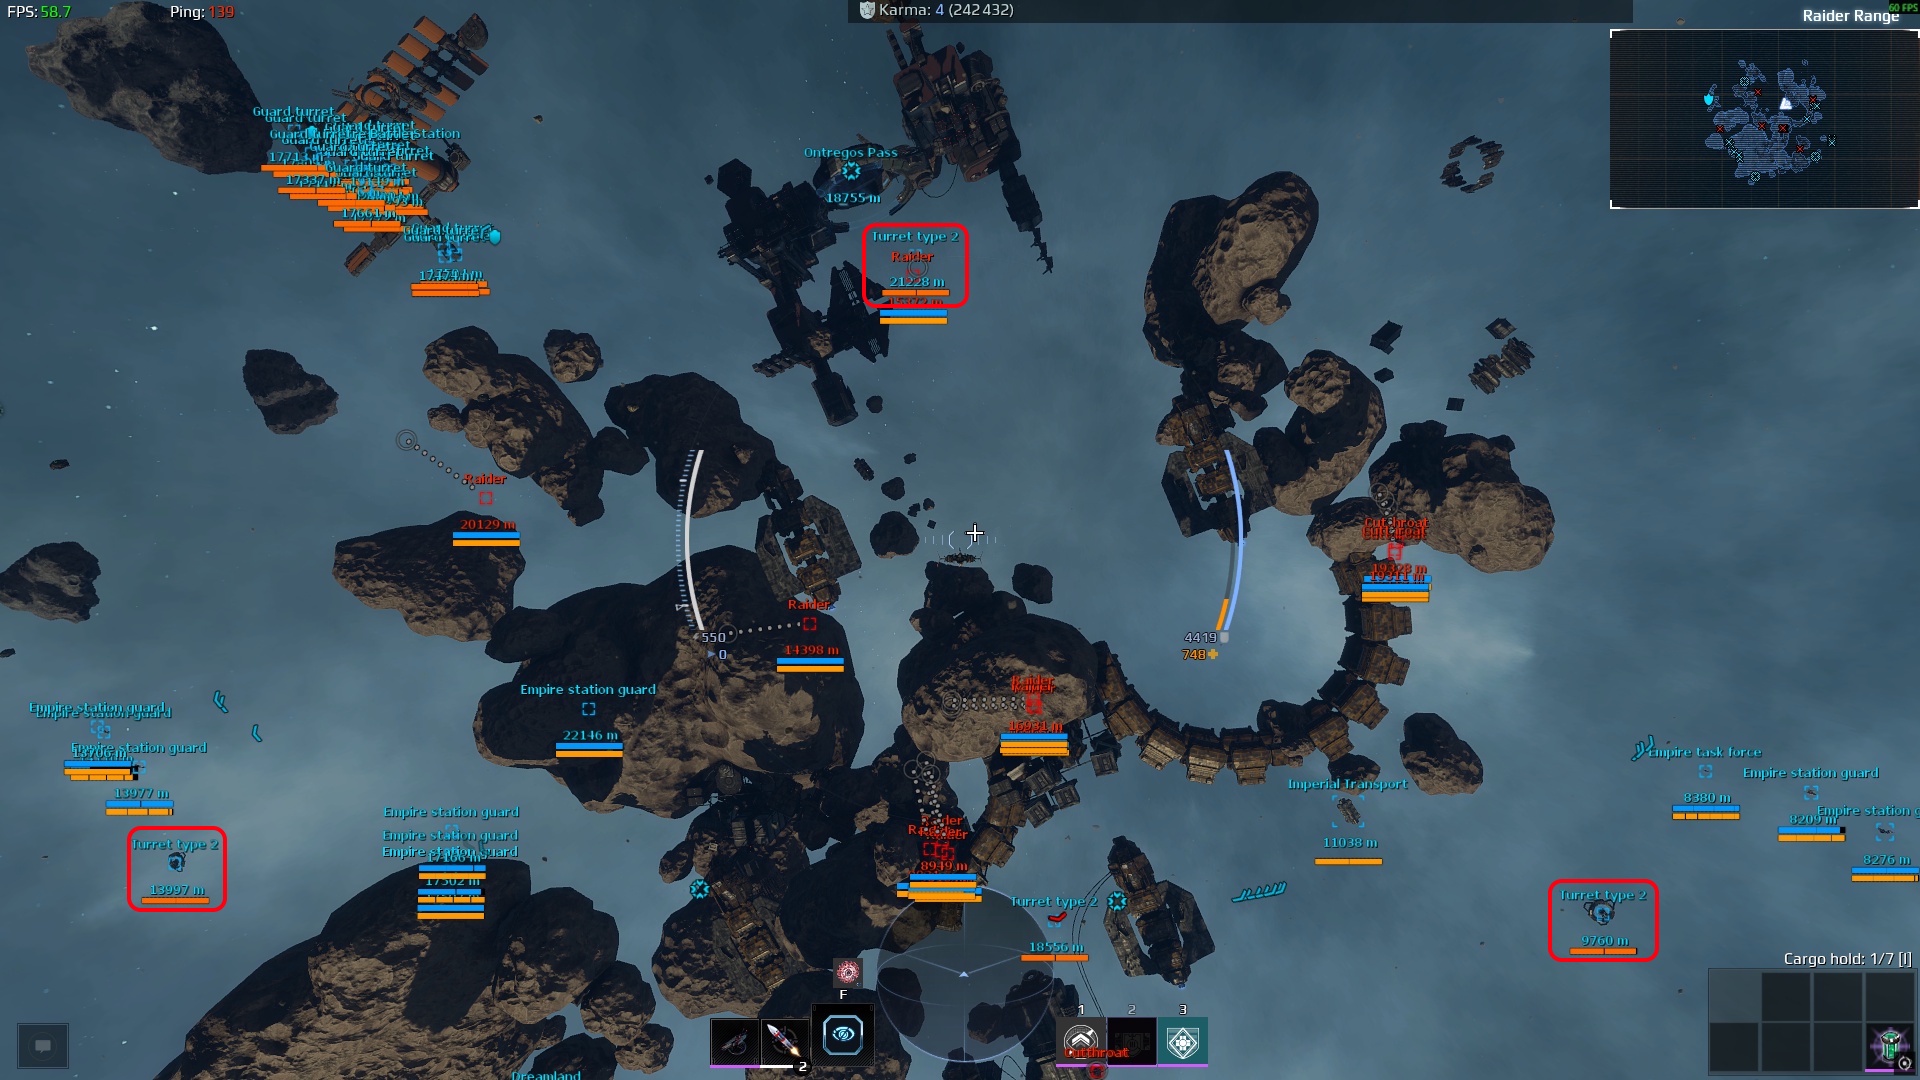
Well, if the random sectors turned “PvP” hasn’t been enough of a hint - the “gambler’s den” we’re hunting for this time is Raider Range.
Once more, we’re dealing with more completely invisible Precursor Spies except this time all three targets have spawned in different areas of the map.
These spies are also significantly beefier than last time but they all path nearby a spawnable Turret Type 2. As a result, it is suggested to hang around these turrets while using the “Aurora-2” modifier with the Hercules and let the turrets do the hard work (or alternatively use a ship able to use Dawn Locator if you want to do it the hard way).
The name for this step was a bit of a dead giveaway - our destination is Water Harvest and we have the joyous task once again of dealing with the United Fleet Courier.
Unfortunately… again. He is completely invisible - so once more, ‘Dawn Locator’ or Aurora-2 is needed to at least find the courier.
EDIT: It seems the Courier has significantly higher DPS output than previous stages, so unfortunately it seems the destroyer cheese isn’t very possible. At the very least - the mobs of Water Harvest will not target the courier, so if you are struggling it may be worth to just simply have one or two friends come out to either decloak the courier permanently via spy drones or to just kill every enemy in the sector while you are following the courier.
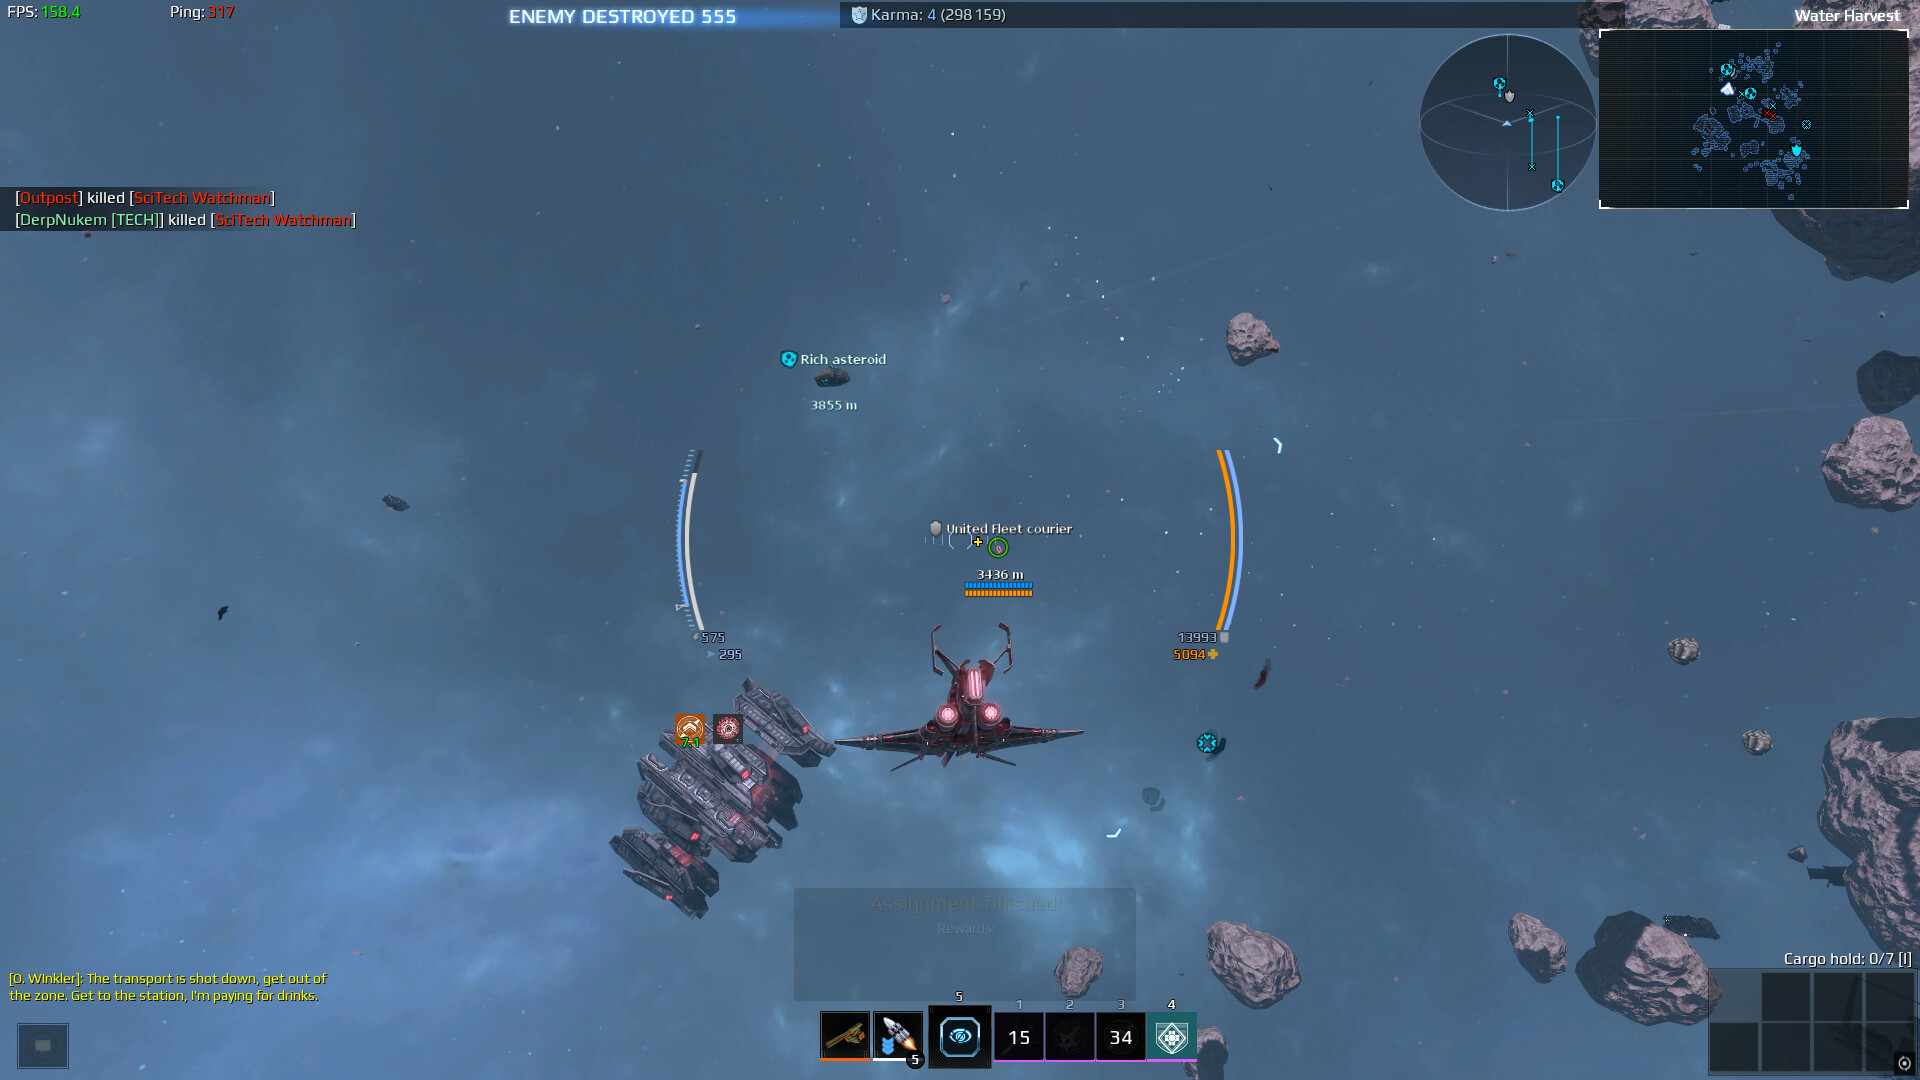
If you’re still struggling to keep up with the Courier - as I have done with most who have asked for help in-game I would suggest having an ally come out and kill the mobs in the sector while you deal with the courier as otherwise the two easiest spots he will path through will take you by far too many enemies.
Incoming damage aside, using the Tiger-M15A3 or Lynx M yet again will do when it comes to keeping up with the courier. Once he paths up past the Cyber Beacon near the inactive gate he will path down towards the structure in front of the ‘Poseidon Complex’ gate in a relatively straight line with no major deviations.
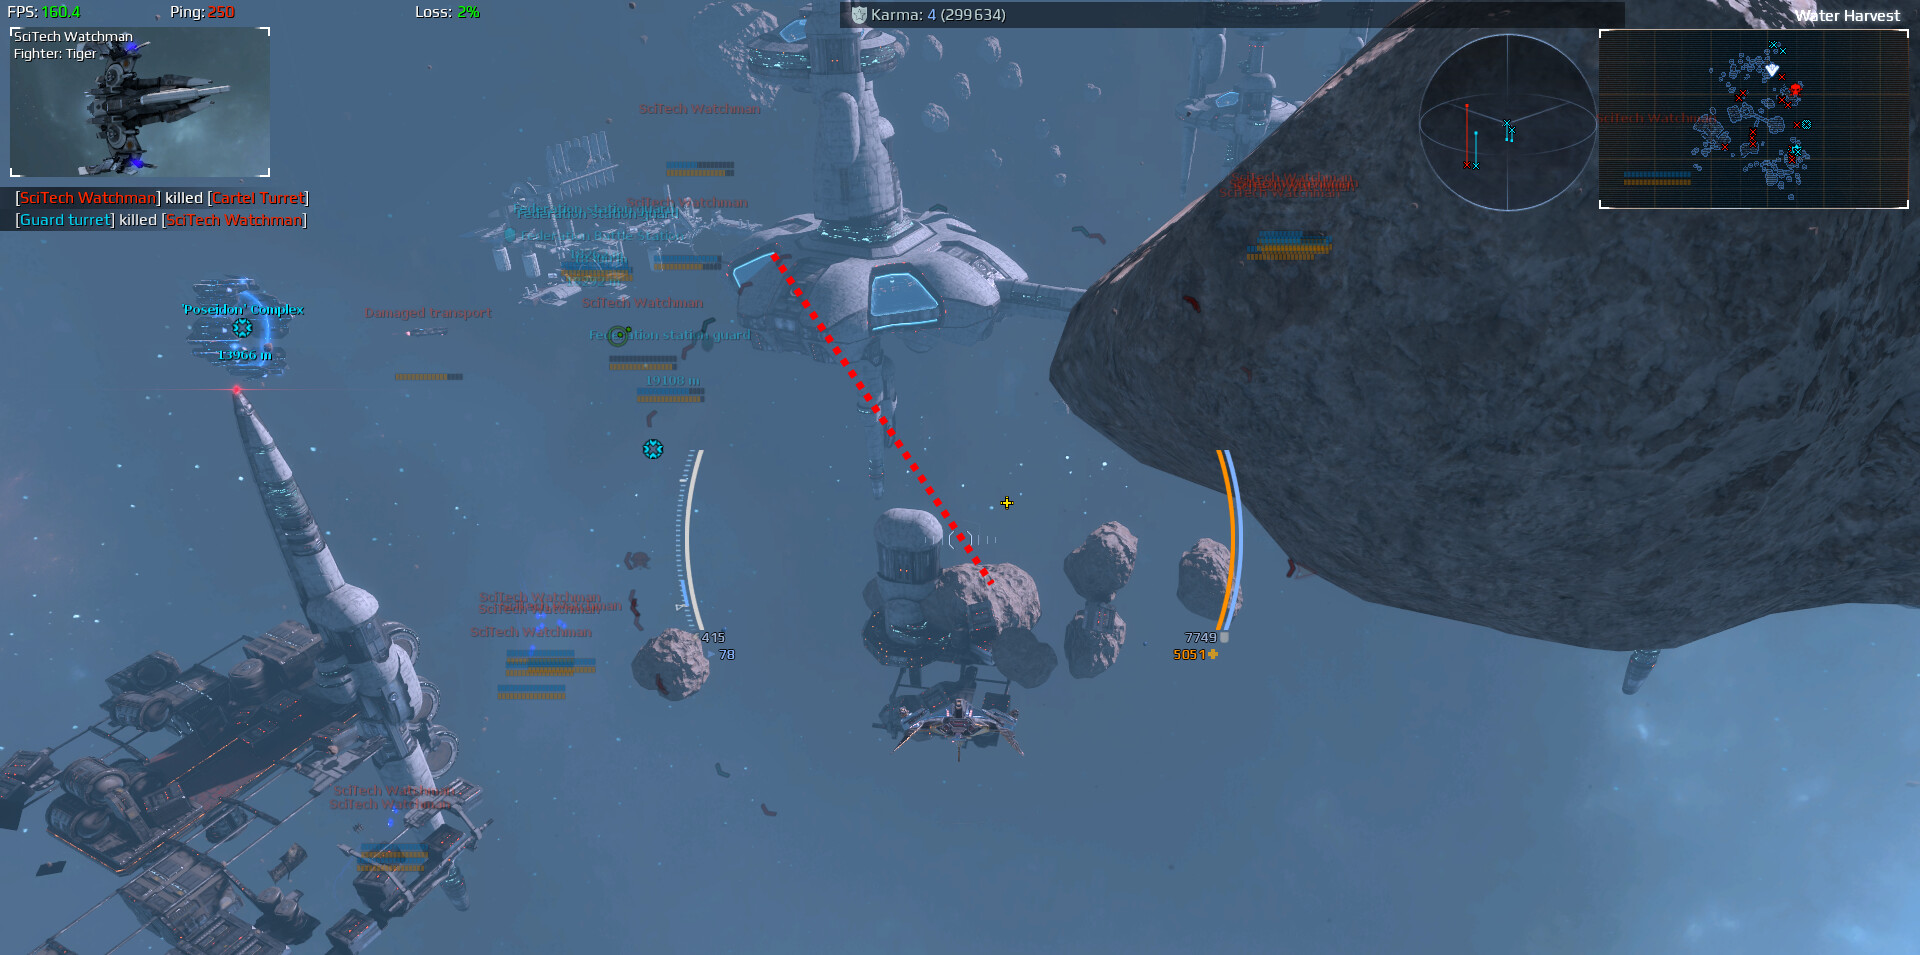
Once the Courier reaches this structure they’ll just path to a bunch of way points before pathing towards the Cartel Turret outpost. This is the next easiest opportunity to get this step done as once again they will be pathing in a relatively straight line yet again.

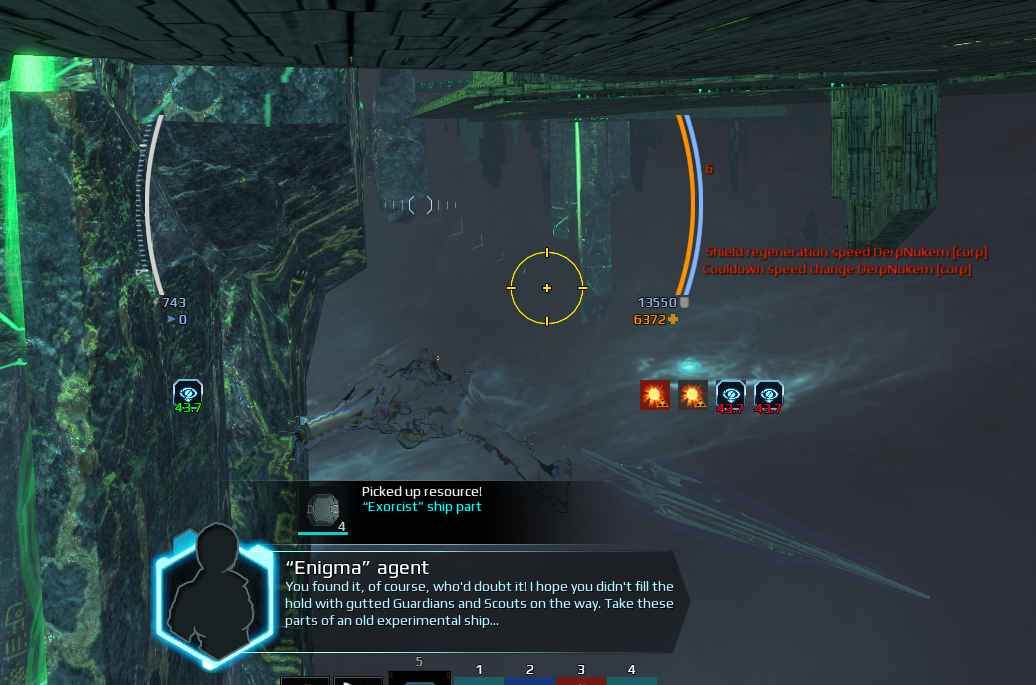
Another real short one - once again, back to the Inverter sector to locate another “Enigma Agent”.
Check the information for step 22 for known locations of the little fellow because this step rewards Exorcist ship parts.
Okay - so to be completely honest, this one is going to be a bit brutal for some players. Our target, as per the quest hint… is to kill a Pirate Destroyer. This step can only be completed at Felony Border.
I’ve already written a fairly in-depth guide to Pirate Destroyers, but as that entails seed chips I’ll give you all the long and short.
Our valid targets for the mission are all the destroyers that can spawn in Felony Border, being:
- Cartel Destroyer “Happy”
- Corsair Destroyer “Pearl”
- Pirate Destroyer “Revenge”
- Pirate Destroyer “Fortune”
We only care about Revenge. Fortune is possible with a group, Pearl and Happy are not possible without seed chips.
If you want to see the full guide; check the spoiler for links to both the steam version and the forum version.
Spoiler
Steam Guide:
Steam Community :: Guide :: A Comprehensive Guide to Pirate Destroyers
Forum Guide:
A Comprehensive Guide to Pirate Destroyers
“Revenge” uses the model of an Antares destroyer (like Pearl) and uses a kinetic weapon - meaning it deals very low damage per shot at base with low projectile speed. Alongside this, it has the lowest health pool of any Pirate destroyers - being able to be killed by Reaper blade alone.
The problem here is:
- We need any of them to spawn at all.
- We need them to spawn with good modifiers
- We need them to spawn with weak additional enemies
Pirate Destroyers have a chance to spawn in certain sectors that increases over time - so if you haven’t seen one spawn then good news! You’re just unlucky.
What do we do if we can’t kill one or just don’t want to spend 30-40 minutes kiting a boss enemy though?
We wait for it to kill itself. You see, the genius designer behind this quest apparently hasn’t checked anything about Pirate Destroyers at all, nor checked bug reports, nor tested the step themselves. Because there has been a long standing issue where these units will just kill themselves after a certain amount of time has elapsed. So if you want to take advantage of this, take a Tackler, Recon or any ship that is able to go fully invisible and bring some long range nonsense. Our job is now just to poke the Destroyer and cloak. If the destroyer has run out of time it will self destruct upon losing aggro. If you have recently damaged the ship at all then you will be granted kill credit - completing the step and any associated tasks with killing pirate destroyers.
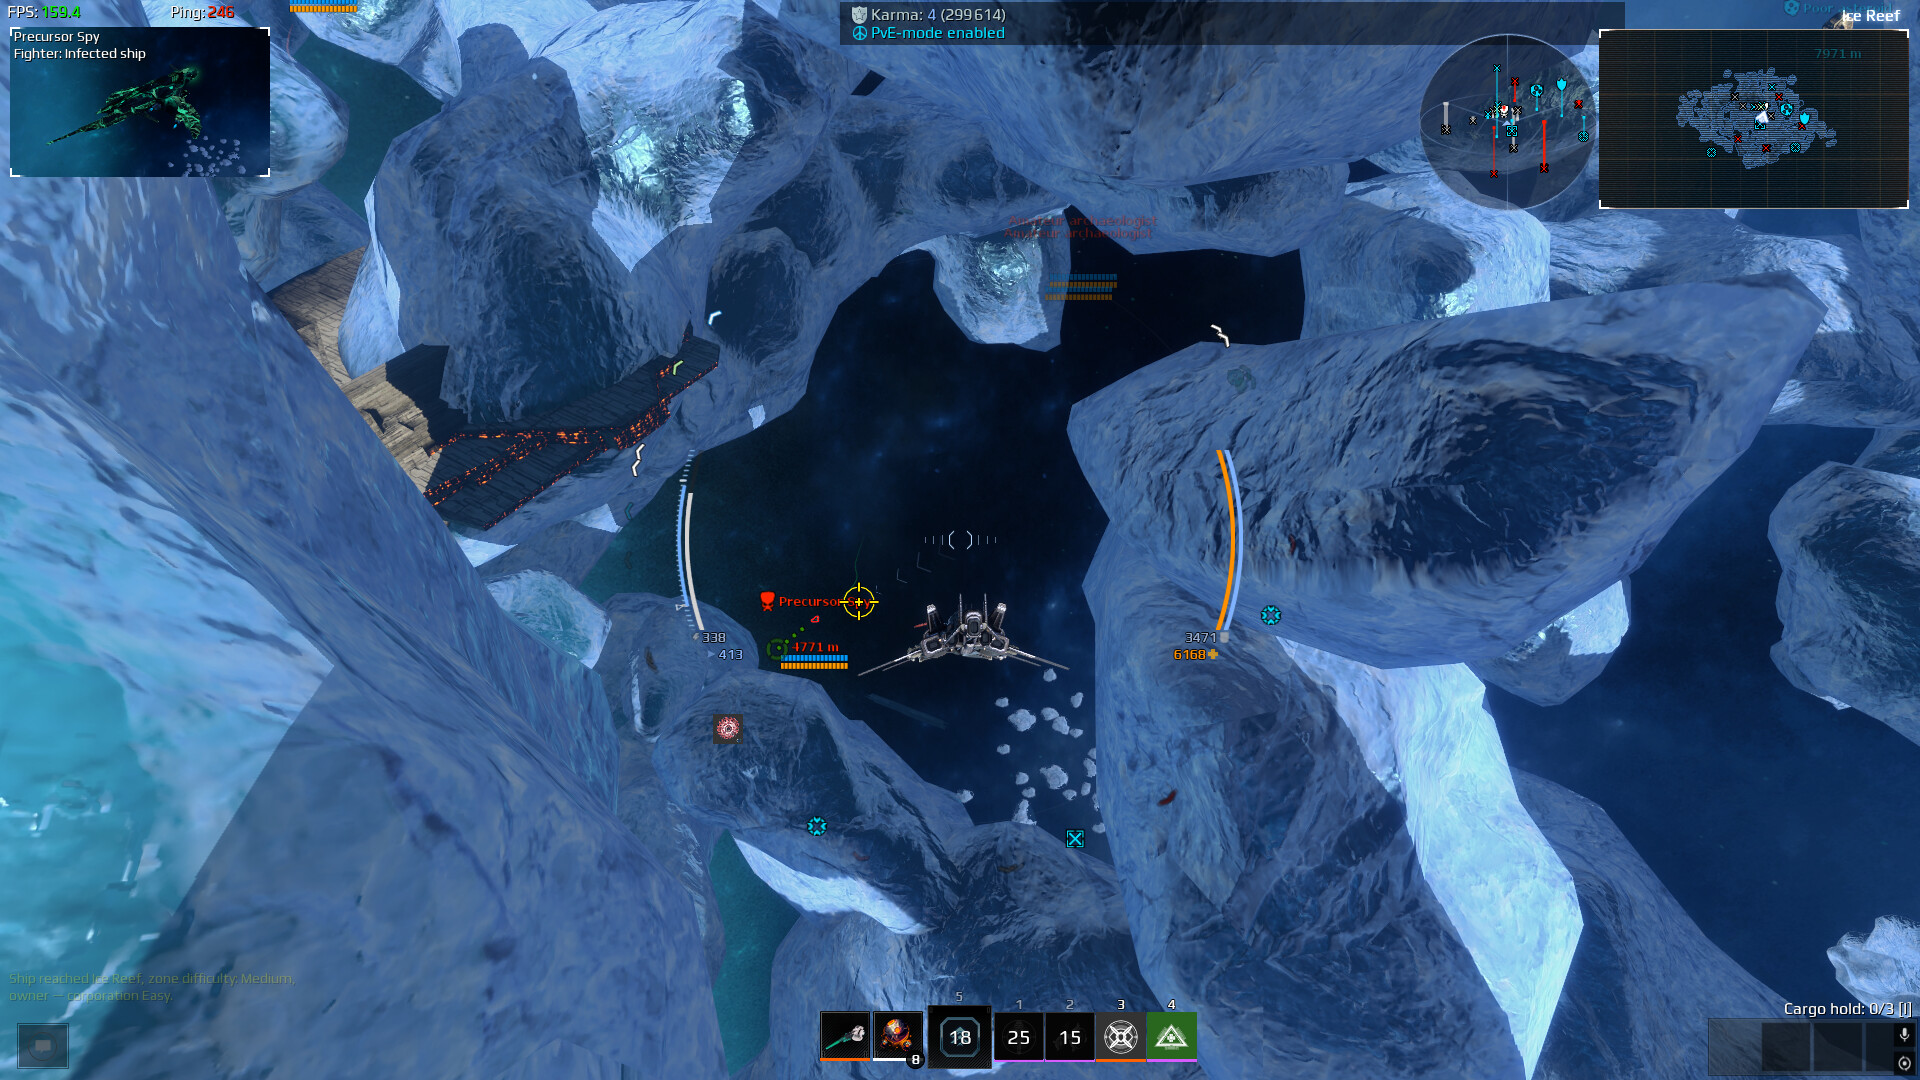
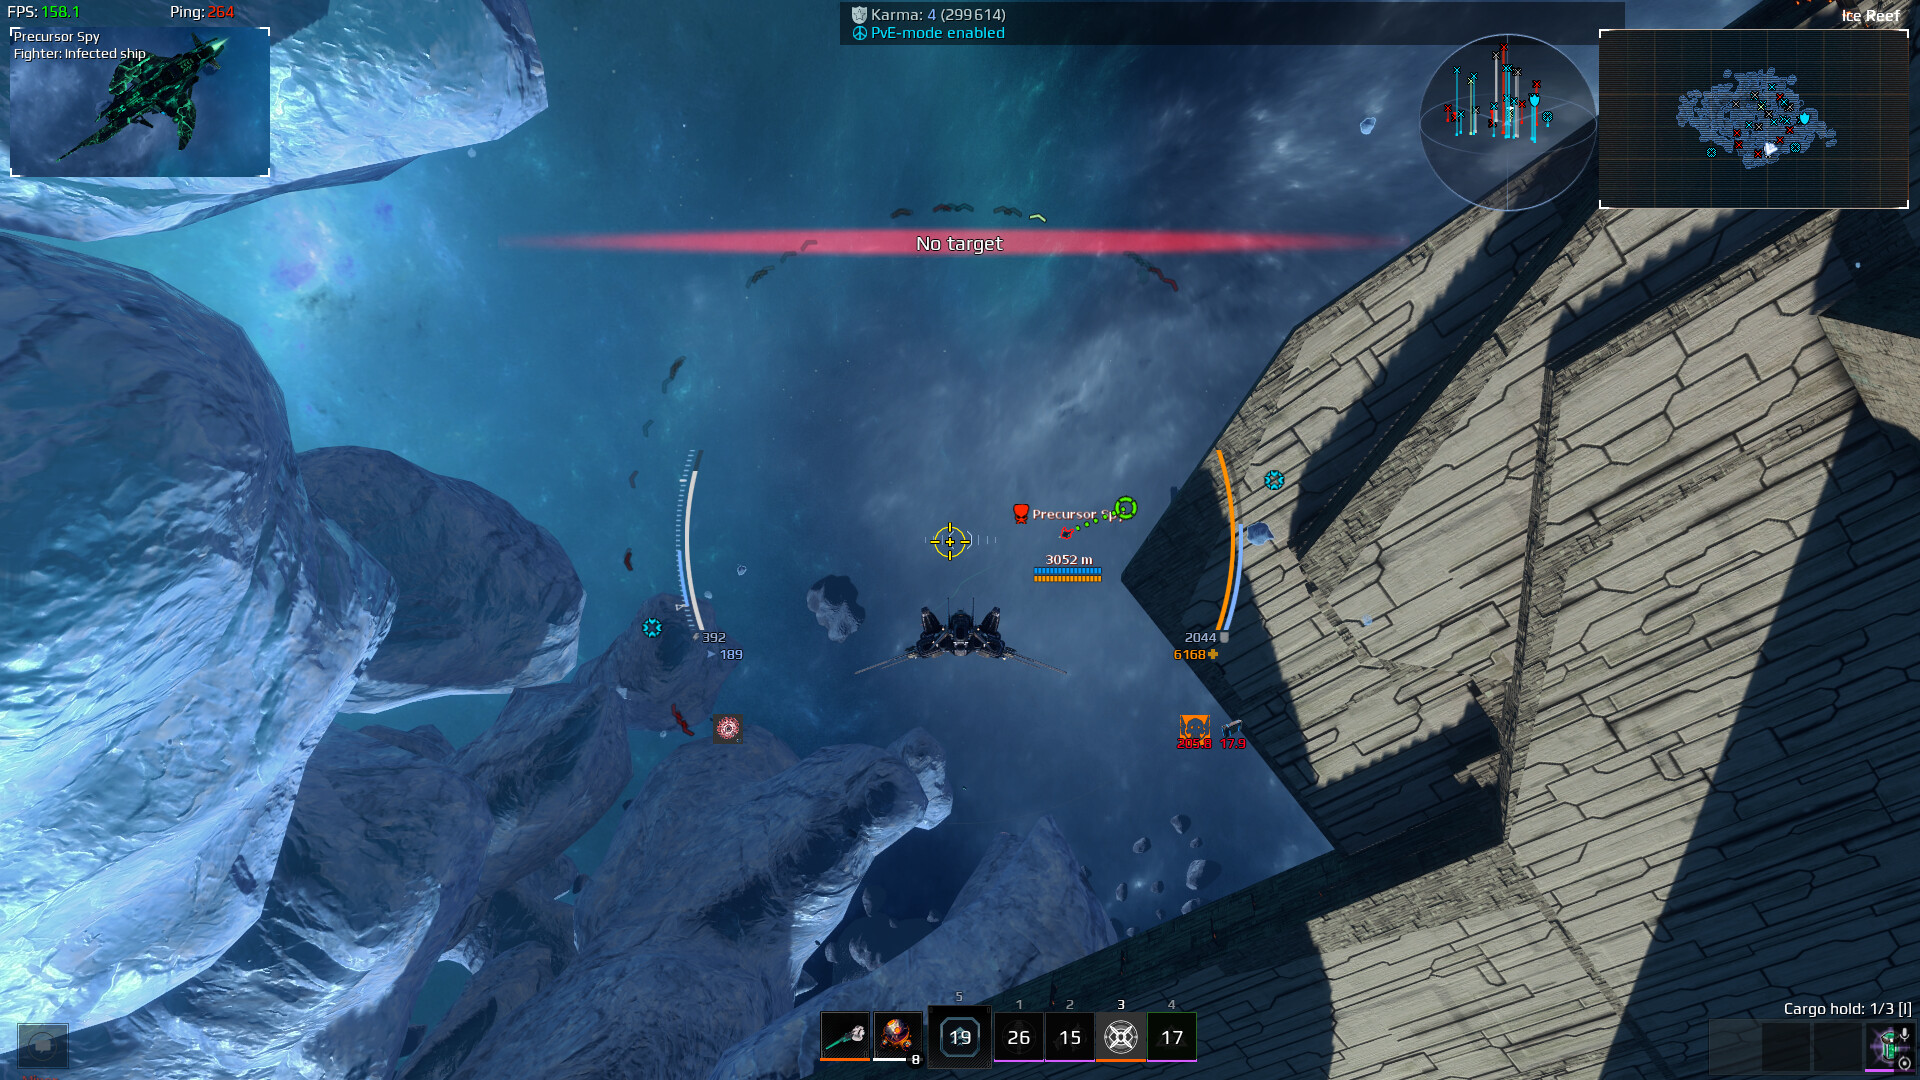
Bit of a monkey’s paw on this one. It’s easier… kind of?
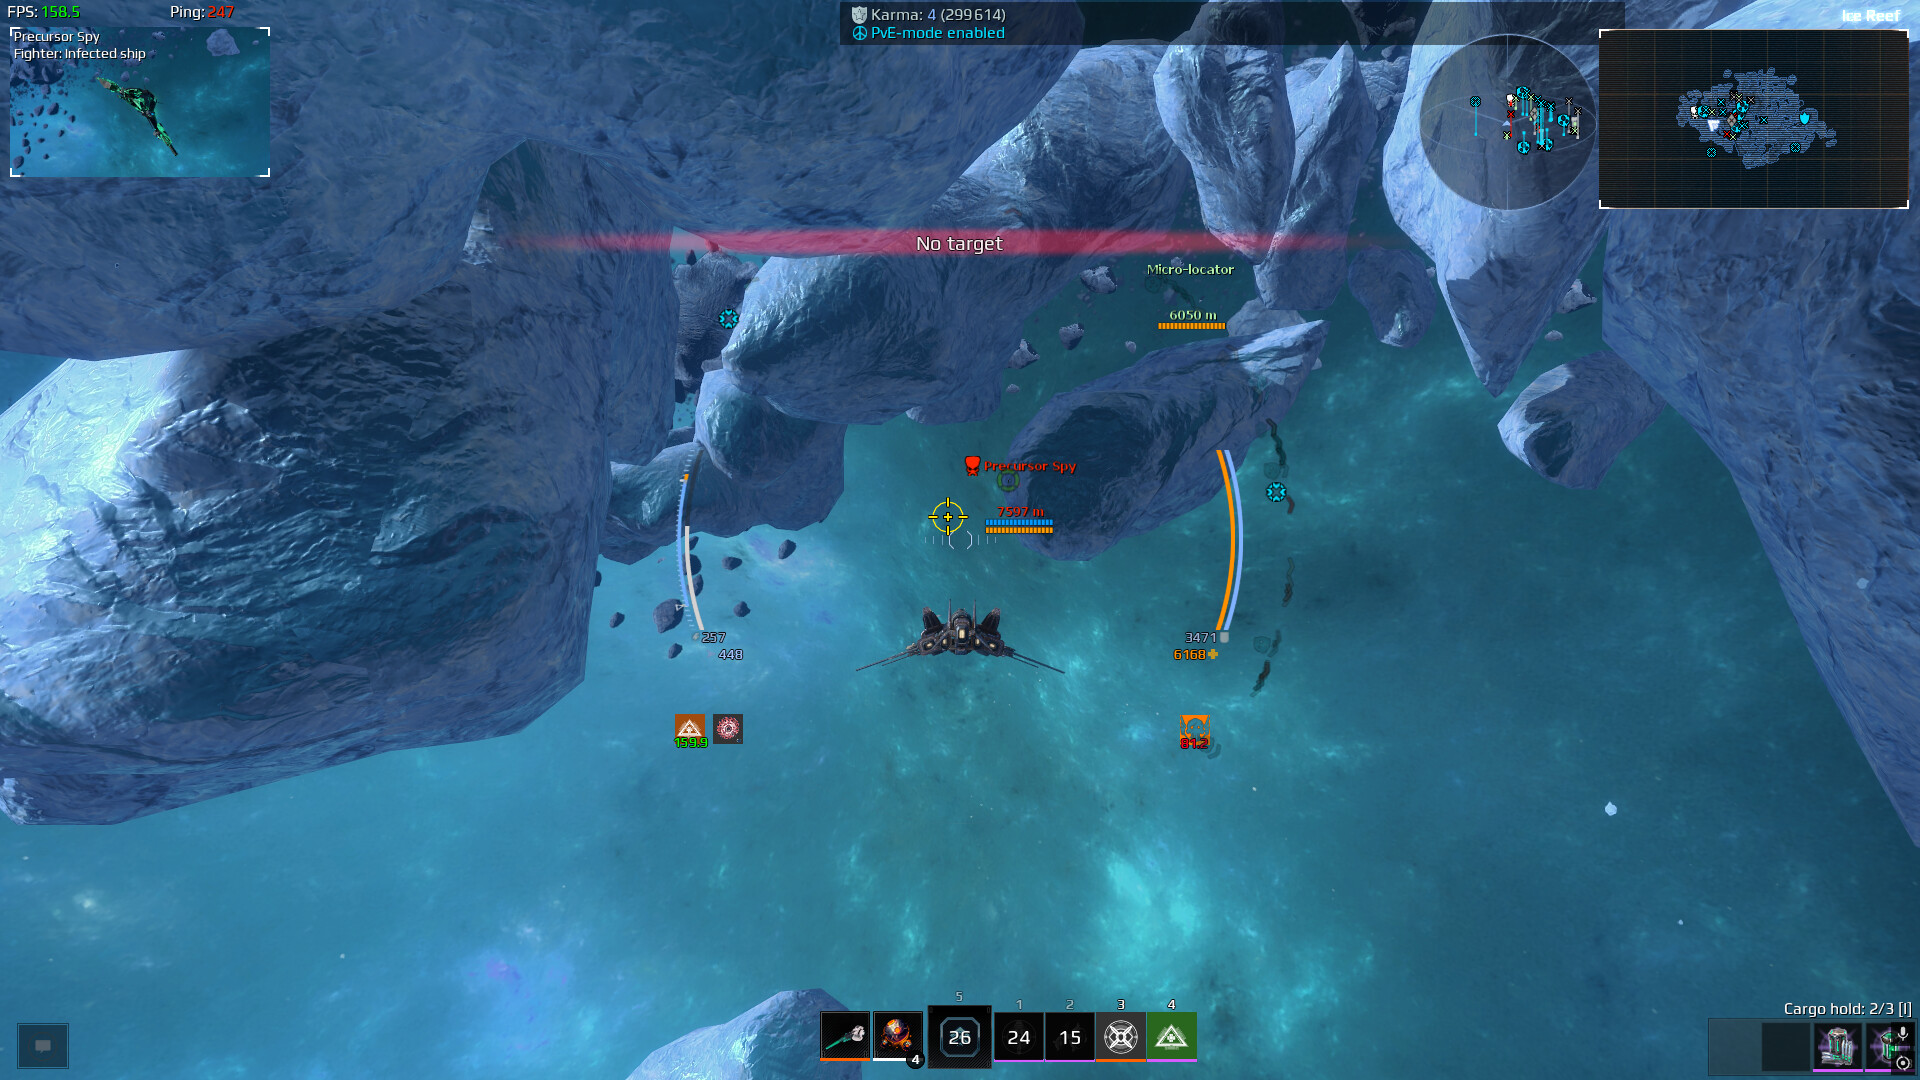
Anyways, our destination this time is Ice Reef as we’re going to go kill another 5 Precursor spies.
Our paw this time however… is the spies spawn aggro’d rather than neutral. This means that we are now able to just use Micro locators to decloak them rather than rely on ‘Dawn Locator’ or ‘Aurora-2’.
The catch on the other hand is these spies hit HARD as I was taking 4400 damage a hit with 59% EM resistances. So make sure to bring a strafe build and plenty of resists.
That aside, it felt like spies did not respawn, so these are the locations I roughly found each spy at:
Okay - another real quick step again. Our destination is Inverter once more, to meet up with the Enigma Agent again. Like the last few times, check step 22 for locations of the agent.
This step will reward you with 3 Raider’s Coil Mortars however, so you have that to look forward to if you’re a collector.
Nice and simple one yet again. This time we’re headed out to Pilgrim 11. You uh, don’t really need to bring anything. We’re going to go to the clock and press C. That’s it.
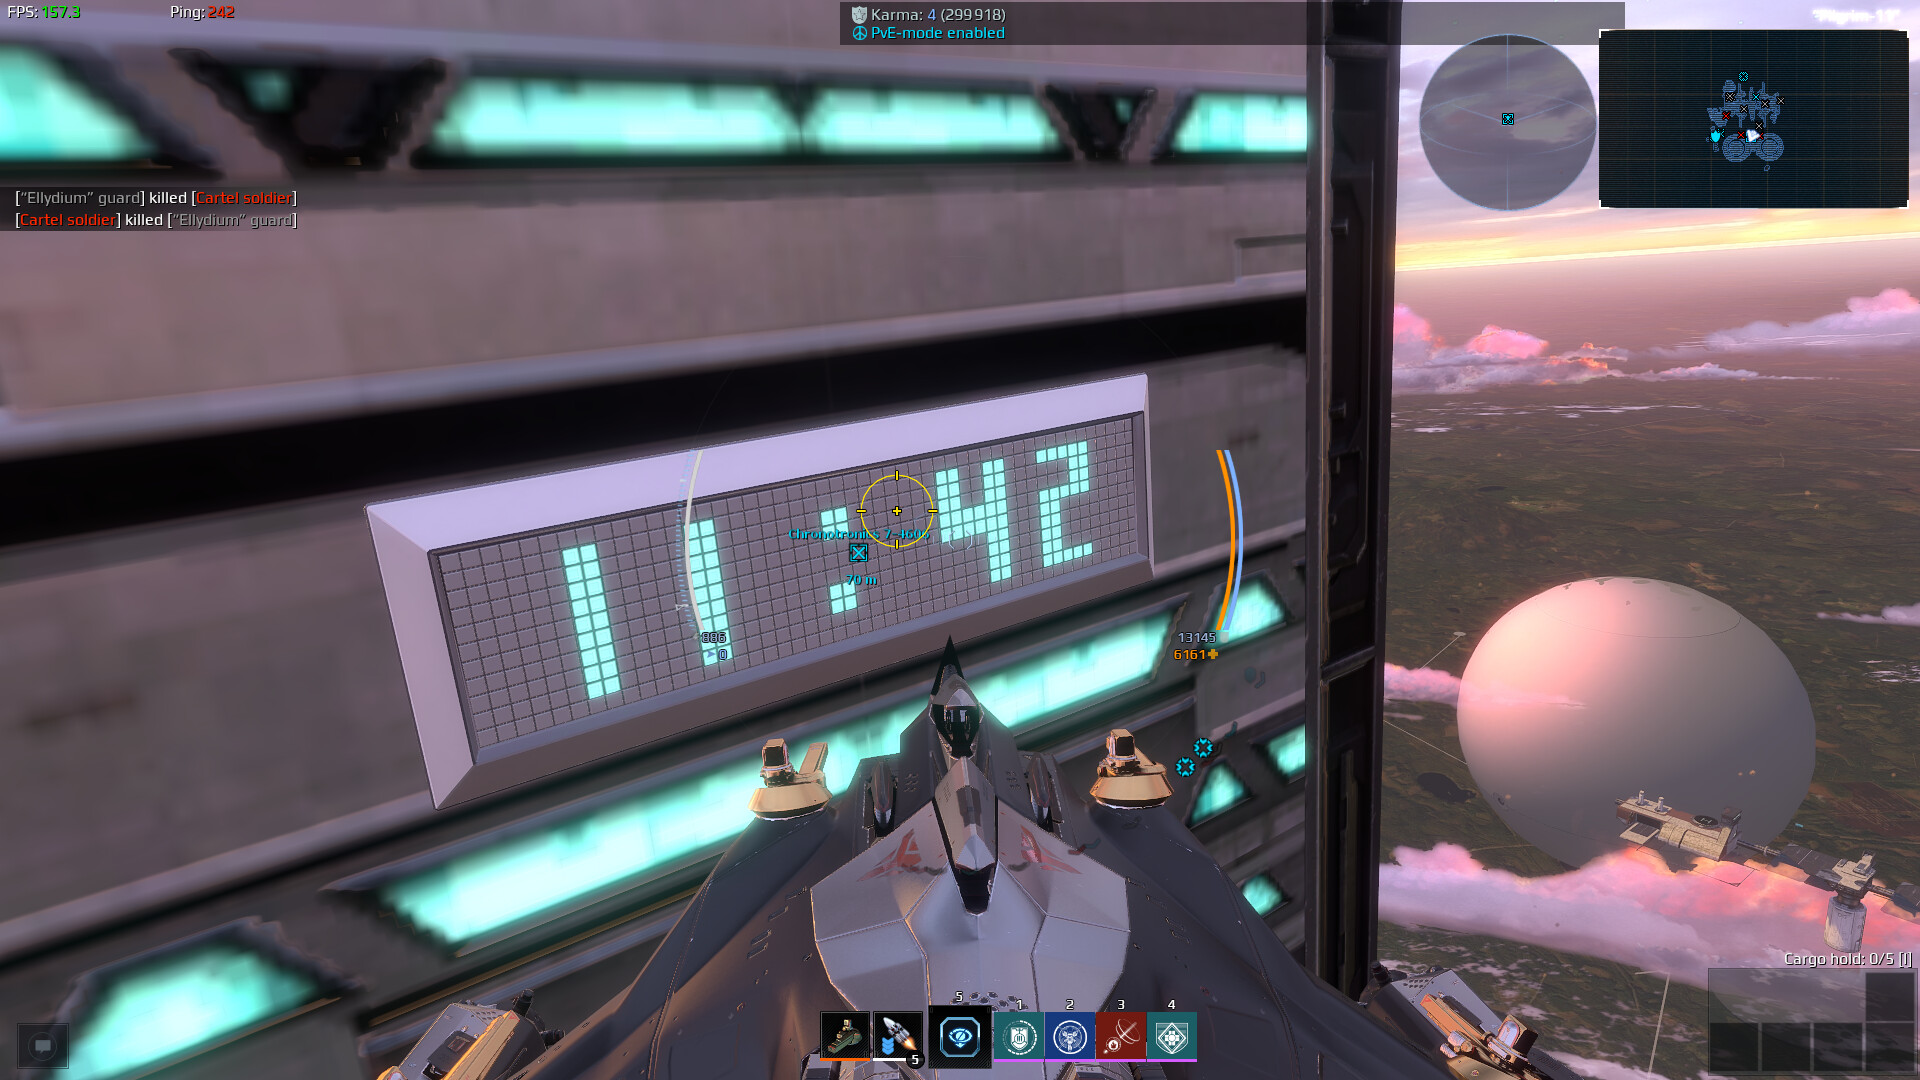
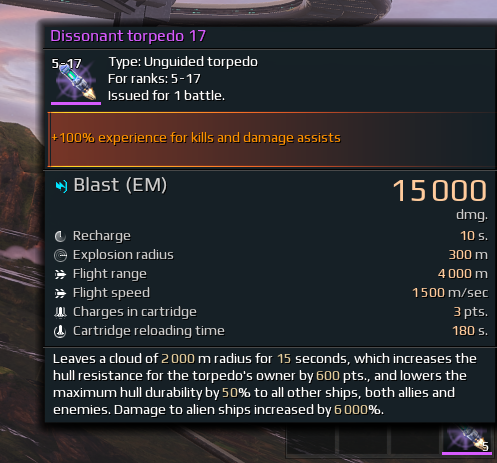
You get Dissonant Torpedoes from this step too so uh, there’s that?
Dissonant Torpedo stats
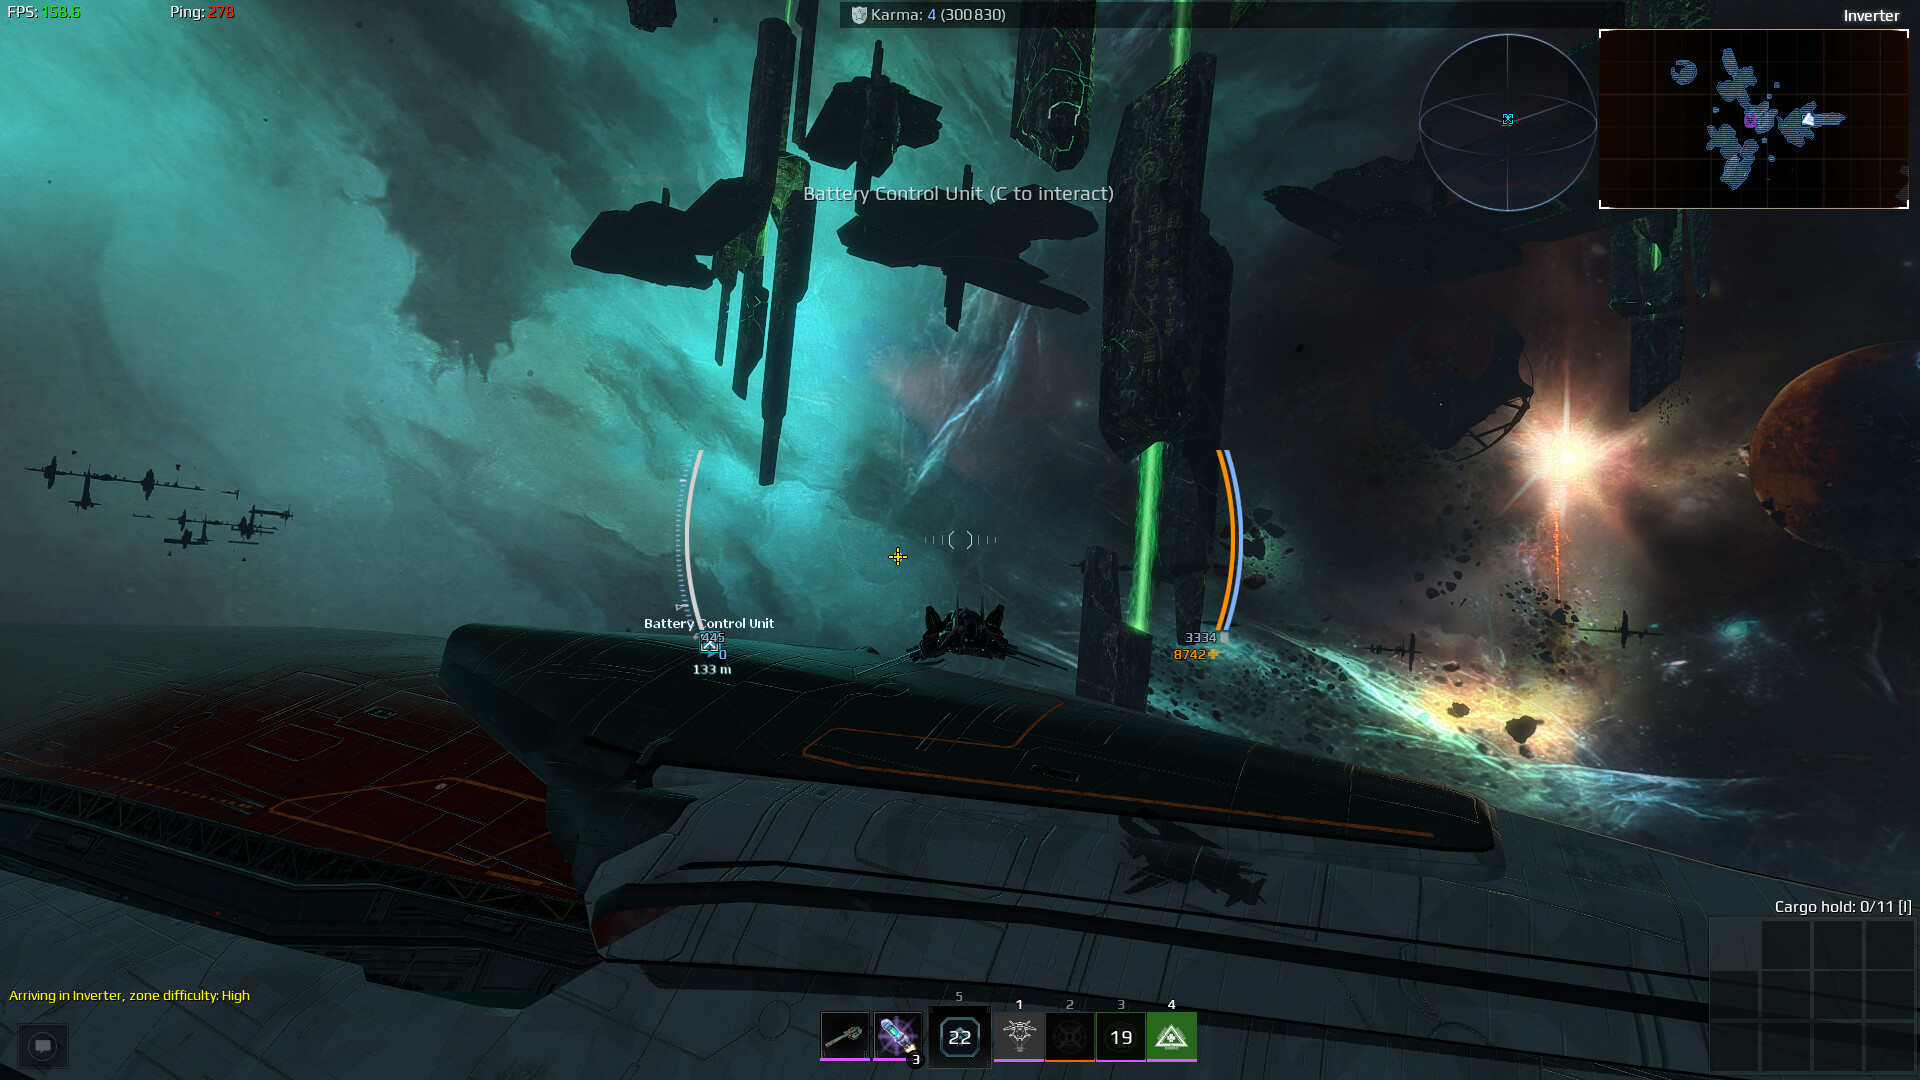
Got a few easy steps in a row for once so enjoy it while it lasts. This step requires going on back to Inverter and speaking to Ramirez. This is our second stash of Dissonant Torpedoes so use them wisely.

Welcome to 2 hours later - back to Inverter with you. Bring one or more extended hulls as upon firing the major caliber more than half of the turrets on the Conquistador will die instantly, dropping containers too. So once you fire - jog on over and grab as many containers as you can without getting stomped by Guardians.
The interact prompt for firing the major calibers is located at the top of the Defiant’s command tower.
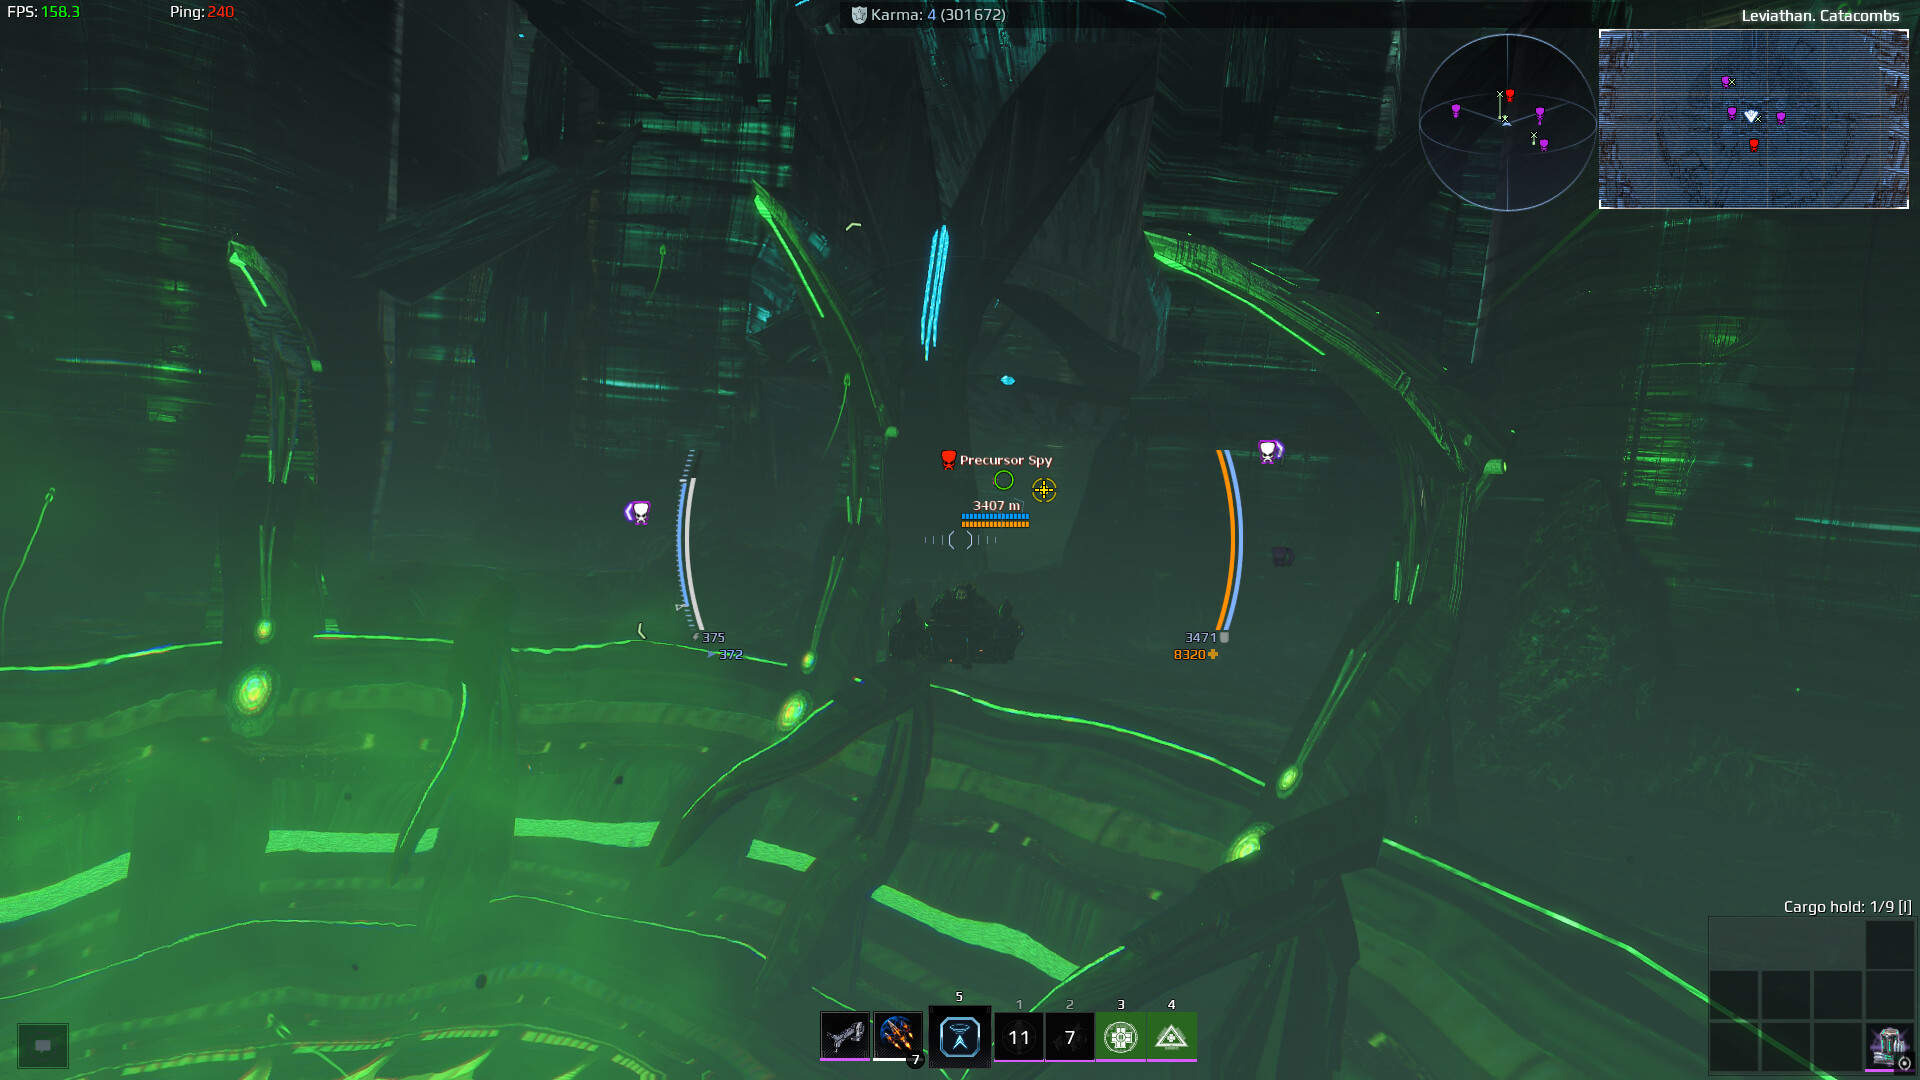
On our typical treadmill of “why”, our next destination is the Leviathan Catacombs.
Once more, we’re going to be seeking out and killing 3 Precursor Spies.
Once again, these fellows are packing high EM damage and full invisibility. They spawn aggro’d again however, so you have the option of Recon ships again if you wish to decloak them.
The first two spies will basically always path through the center area of the Catacombs, so if you want to just farm the two of them for Dissonant ammunition you can - as the step will not complete until all three are killed during the same flight.
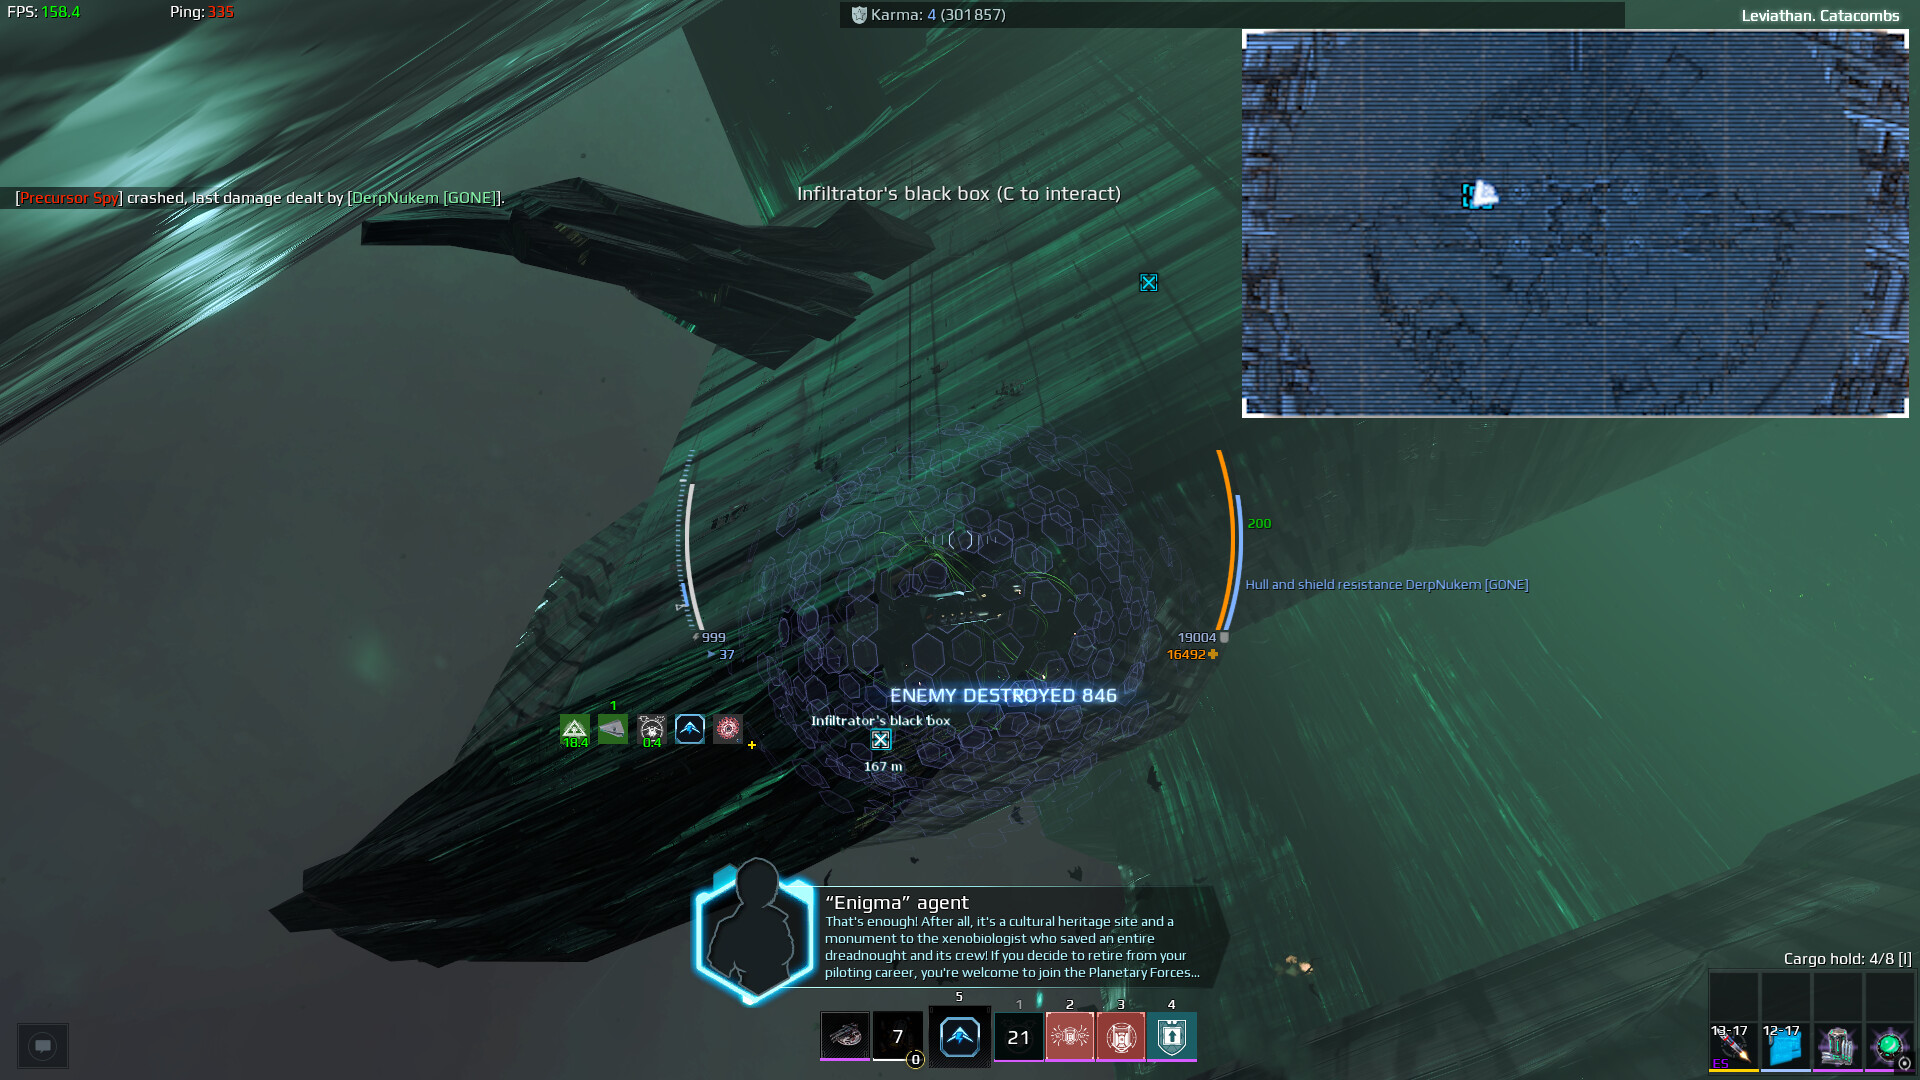
I increased the size of the minimap for location reference on Spy #3 as I actually opted for a silly method to find them (as I suspected it got stuck on my first attempt) and used a Boarding Charger Palom to locate them without decloaking them.
It’s time to fire the Major Calibers for a second time - so once more, back toInverter and back down the Defiant.
If you’re unsure where the interact prompt is to fire them, check Step 34.
Make sure to bring your best running shoes and an extended hull (that means probably a damage resistant Tackler like Jaguar or Singularity with Cruise Engines).
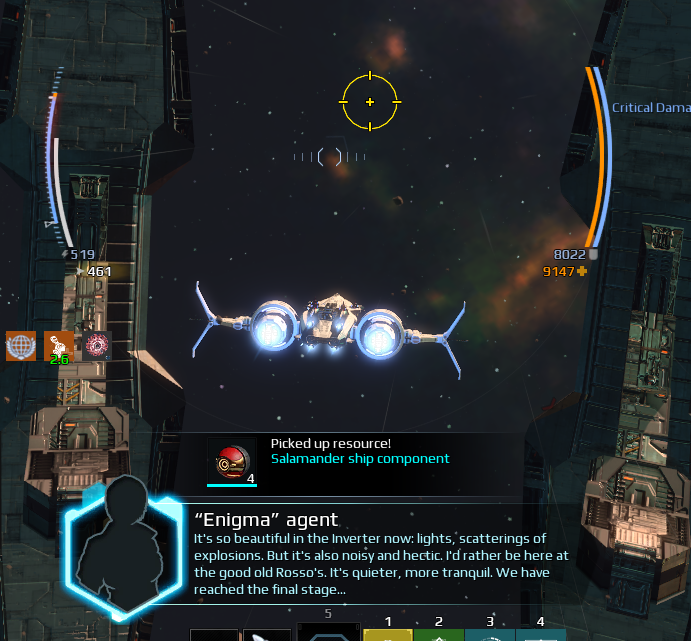
Another Enigma Agent step this time. The mission hint does mention “any of the previous locations” but I’m not sure if every location works. As a result, when I did mine - I hit up Fort Muerto to complete the step. You can go check the locations from Step 9 if you also opt for Fort Muerto instead of checking Inverter or… Excavation site…
Regardless, if you’ve made it this far into the adventure then congrats - you now have the parts to build a Salamander. Definitely came out of left field again, but eh - better than another T1 ship.
Why are we still here?
Oh right, to fire the major calibers again. You know the deal by now - Inverter, go to the Defiant, hit C, maybe record some B-roll for a video, go grab loot.
Fourth verse same as the first - back to Inverter to fire another volley from the Defiant.
Uh… have a screenshot or something?